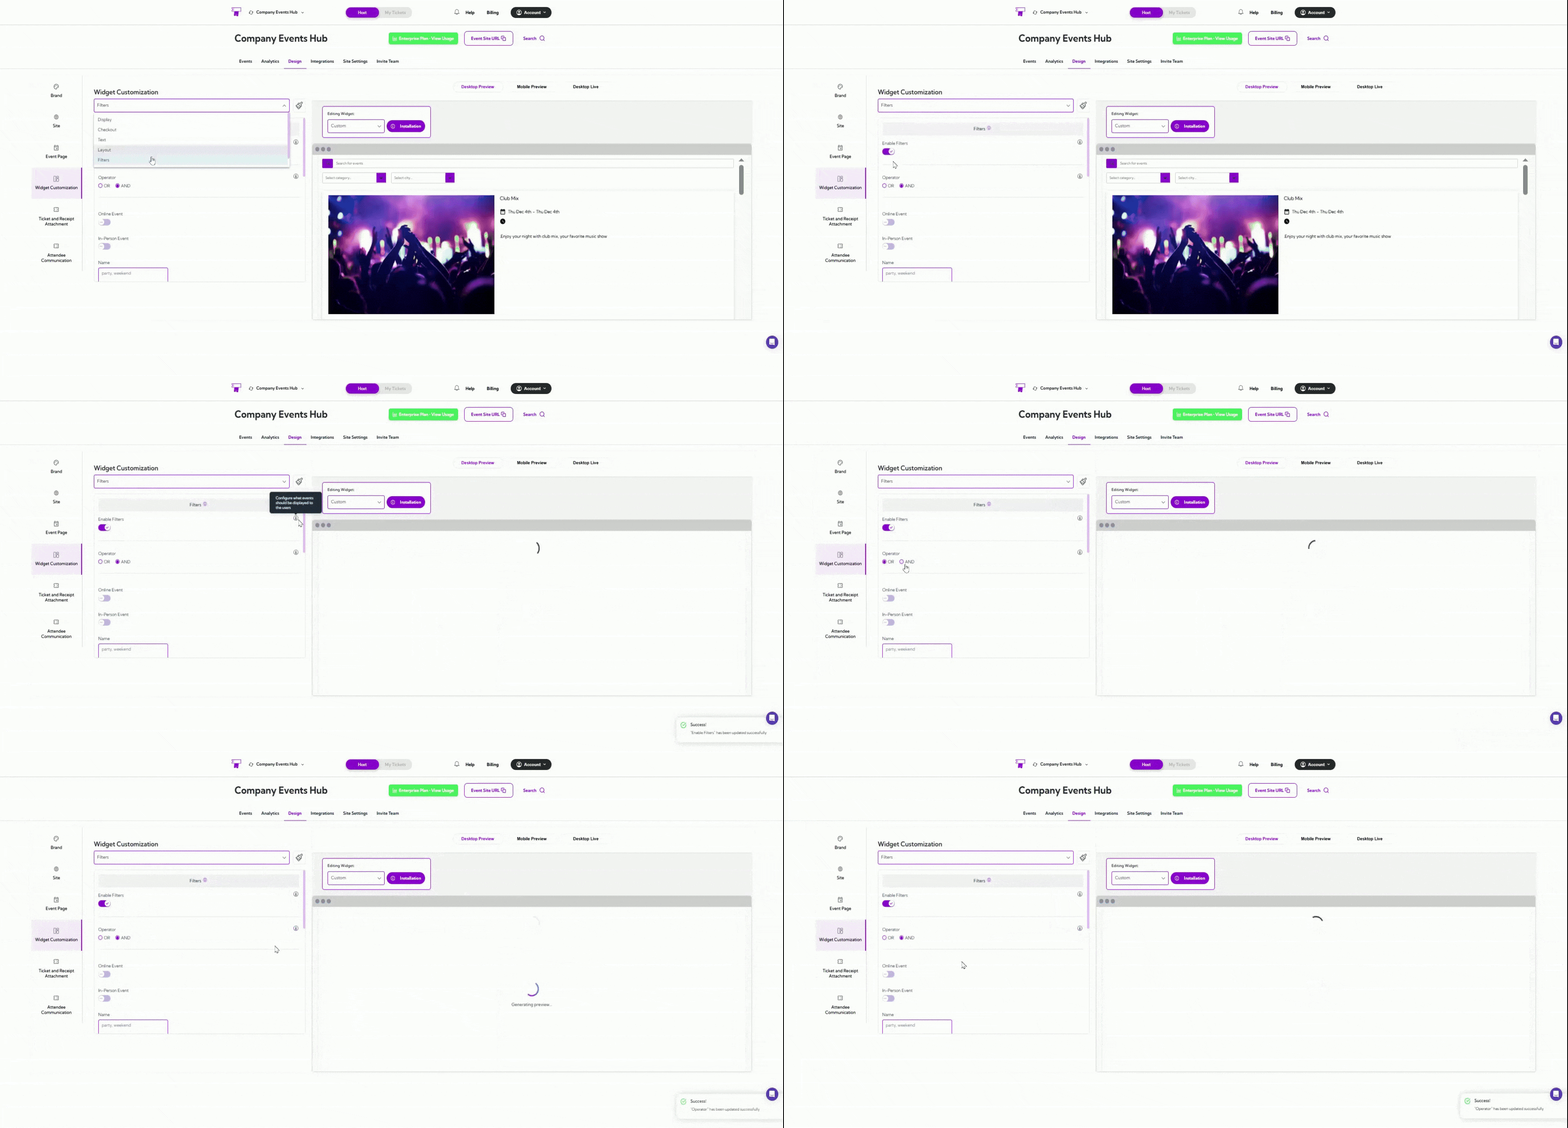
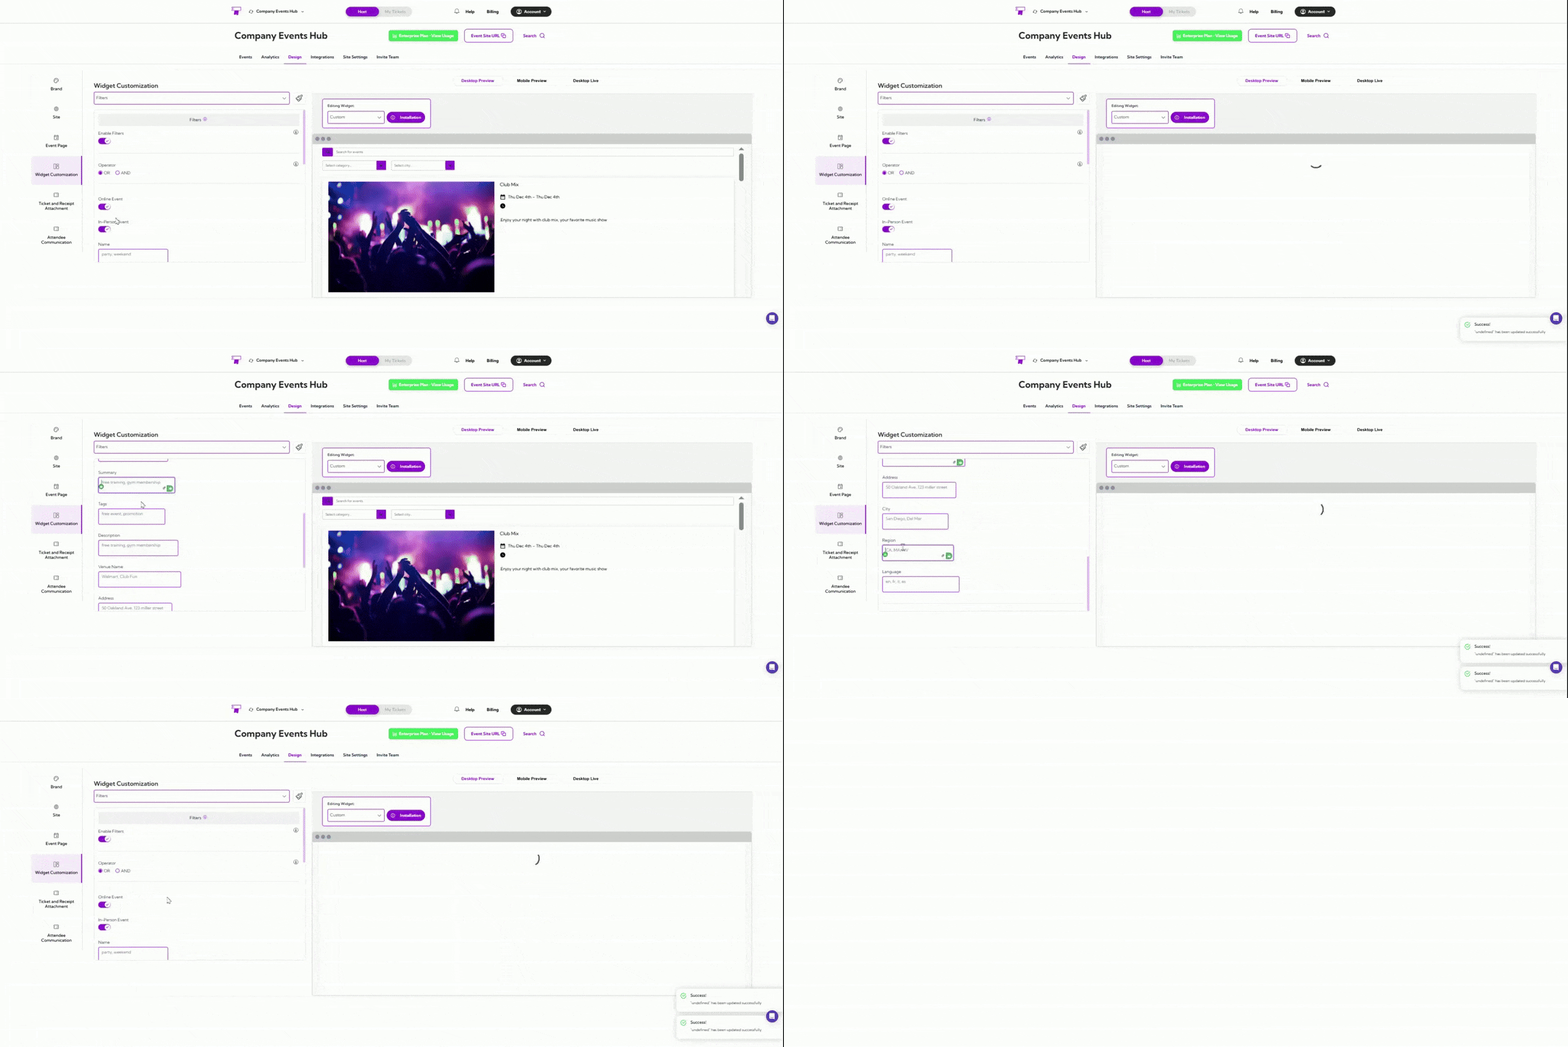
| Online Event | Shows only events marked as online. |
| In-Person Event | Shows only events taking place at a physical location. |
| Name | Displays events whose title contains the keywords entered (e.g., “party”, “weekend”). |
| Summary | Filters events by text in the event’s summary field. |
| Tags | Shows events that match the tags you enter (e.g., “promotion”, “free event”). |
| Description | Filters events based on matching keywords in the full description. |
| Venue Name | Shows events hosted at venues matching the text you provide (e.g., “Walmart”, “Club Fun”). |
| Address | Filters events based on text appearing in their address. |
| City | Shows events located in the cities you enter. |
| Region | Filters events by regions or states (e.g., “CA”, “MA”, “NV”). |
| Language | Displays events available in the languages you list (e.g., “en”, “fr”, “it”). |