Navigation
Step 1: Log in to your Ticket Spot account and click on the Design tab.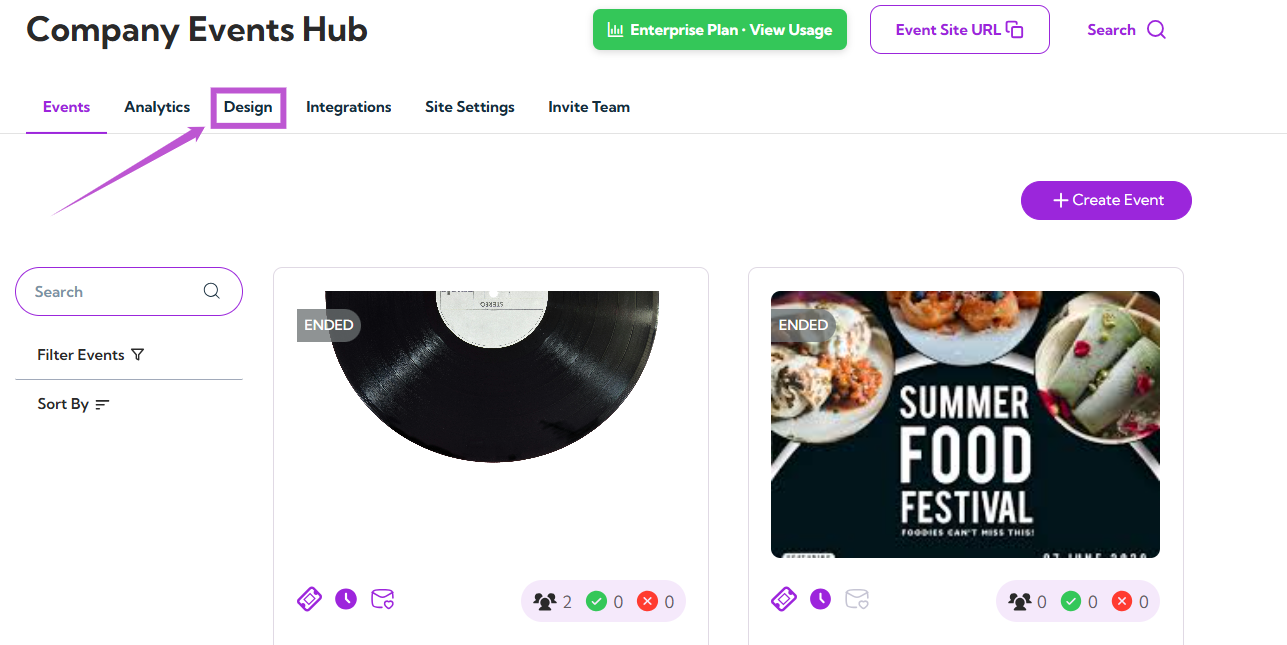
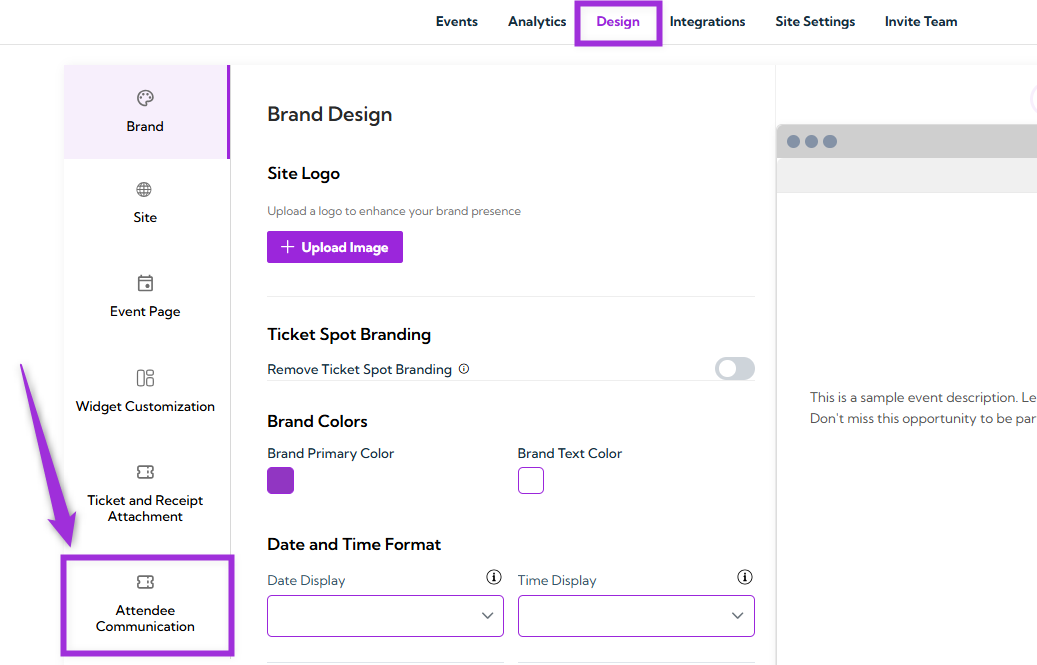
- Email Communication
- Checkout Communication
- Check-In Communication
Email Communication
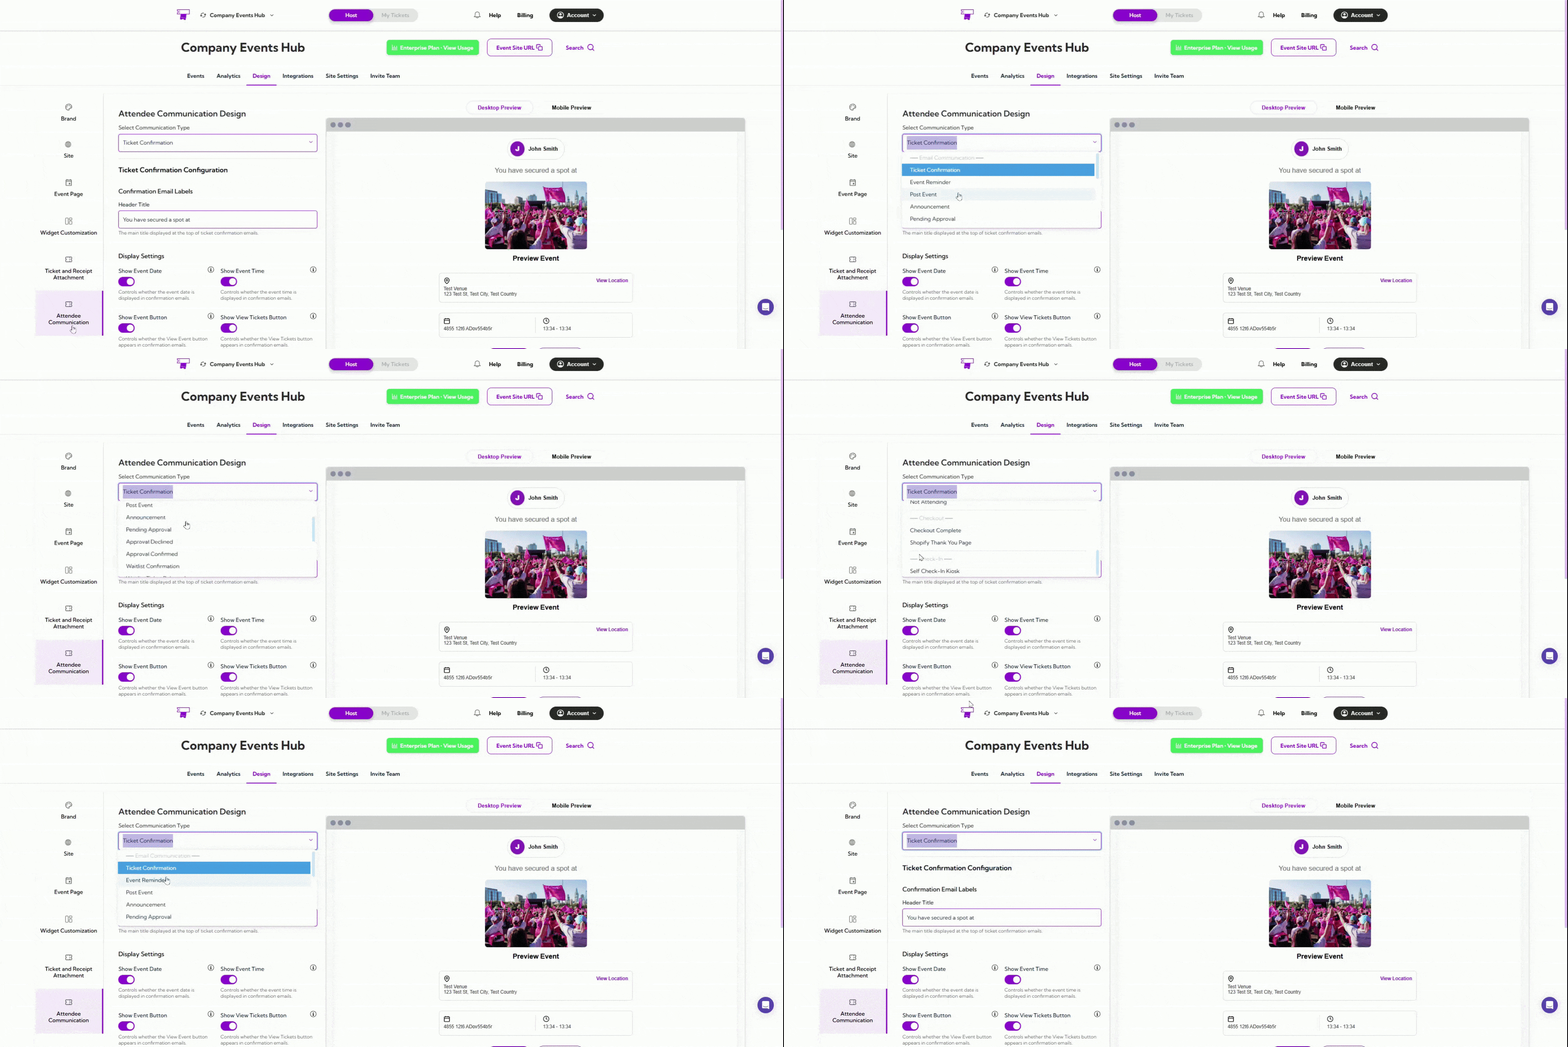
Email Communication includes all the automated messages sent to attendees, such as confirmations, reminders, announcements, and status updates. Each email type can be customized individually to match your event’s tone and provide the right information at the right time. Available Email Types include:- Ticket Confirmation
- Event Reminder
- Post Event
- Announcement
- Pending Approval
- Approval Declined
- Approval Confirmed
- Waitlist Confirmation
- Waitlist Ticket Released
- Not Attending
Ticket Confirmation
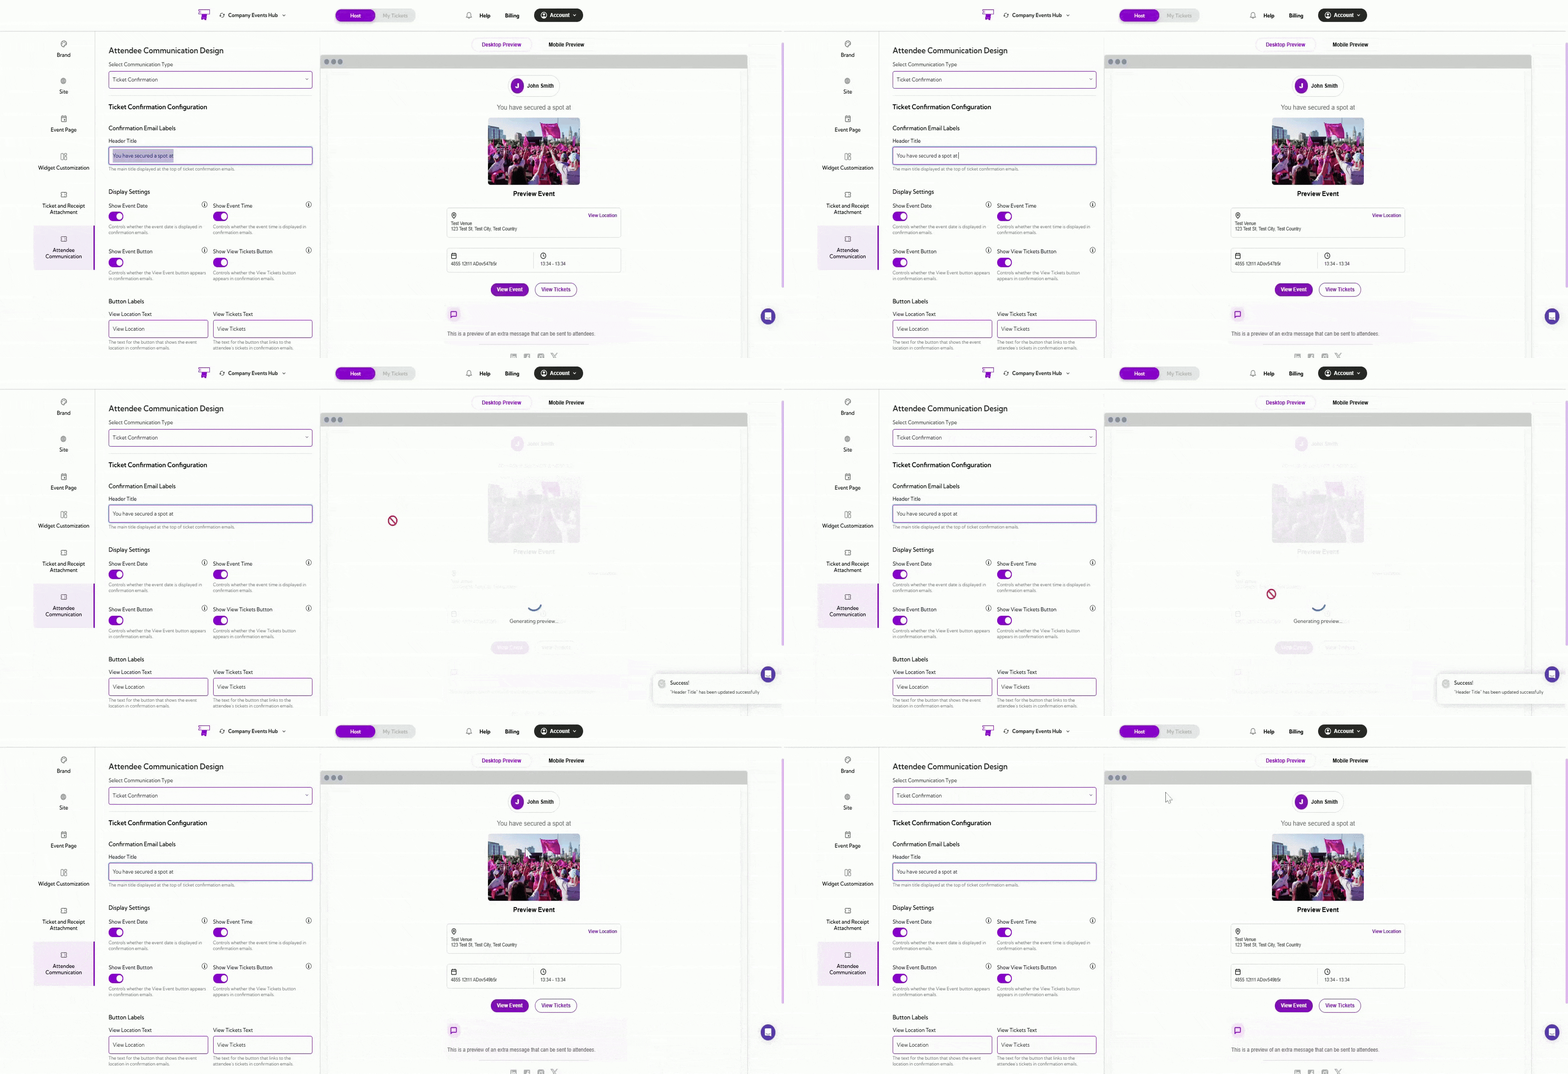
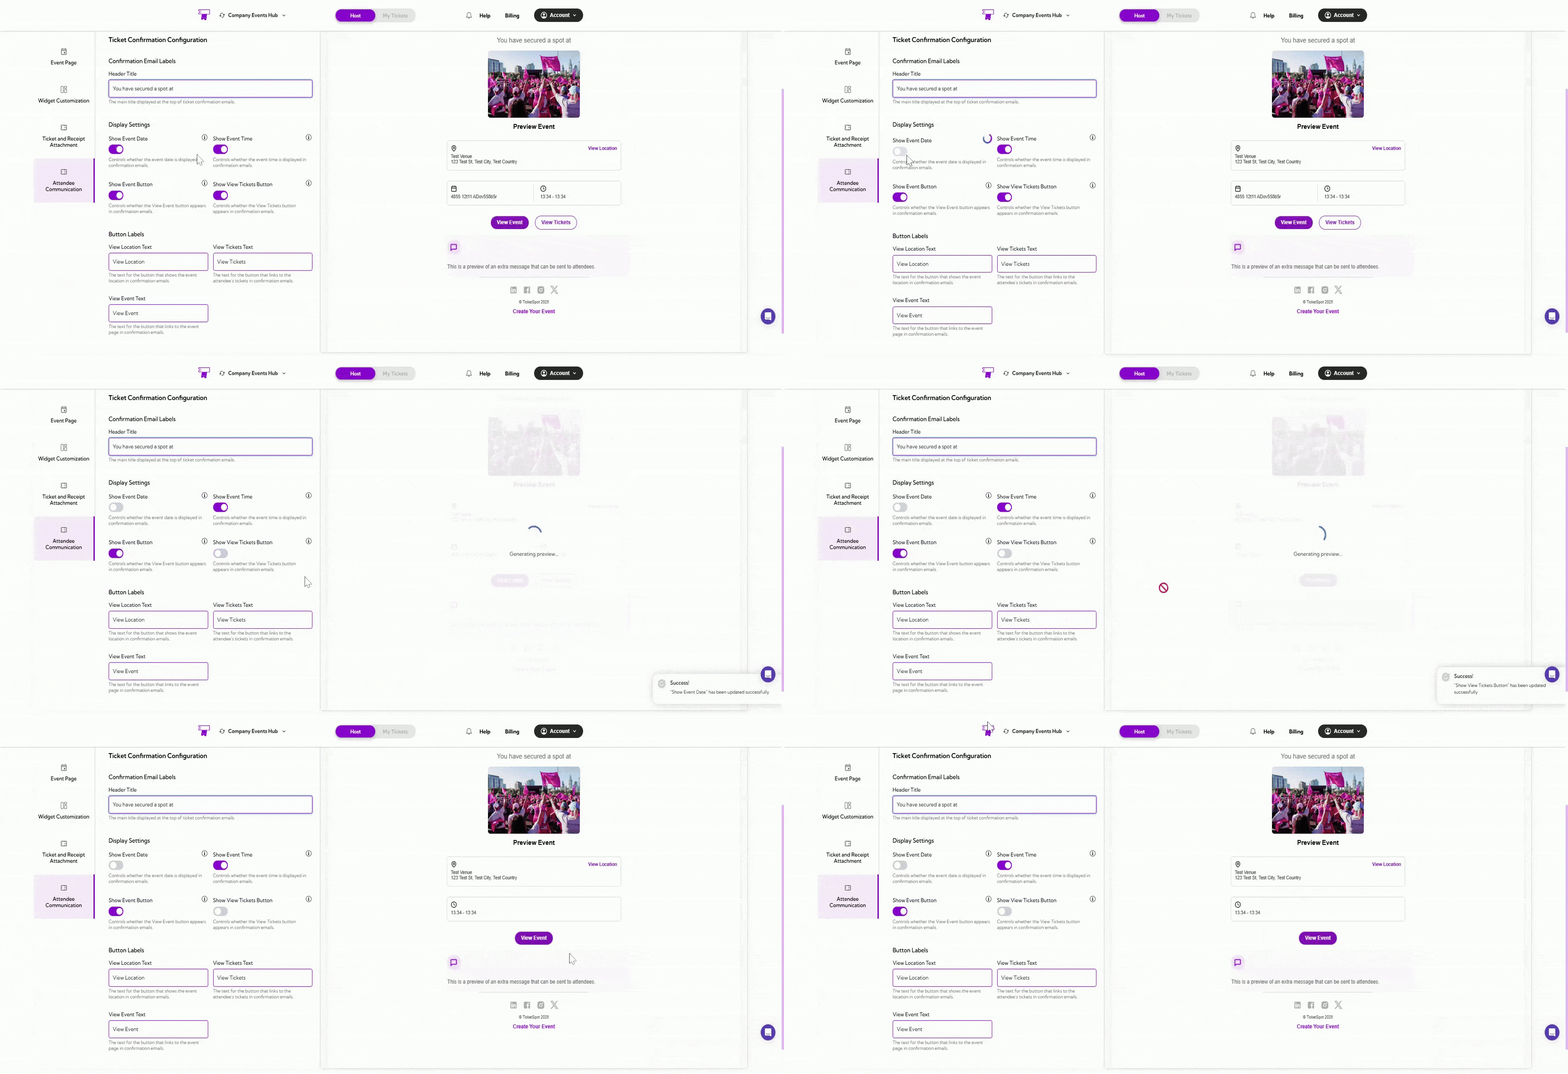
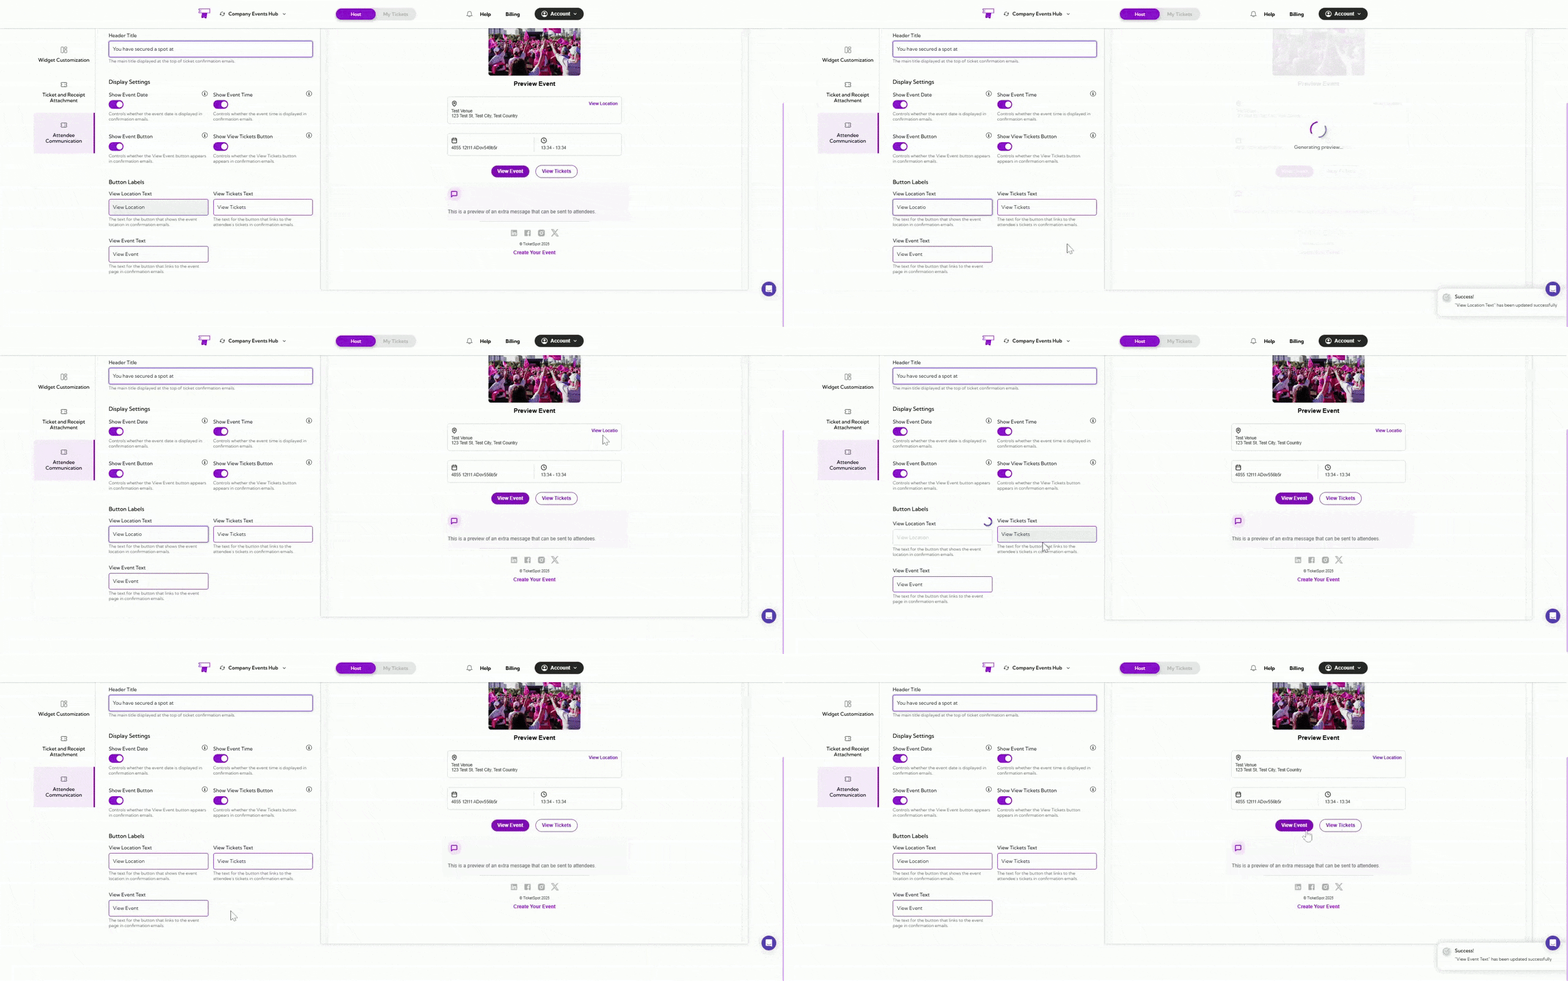
Ticket Confirmation design controls how the confirmation email appears when an attendee completes a registration or ticket purchase. This includes customizing the main heading shown at the top of the email, choosing whether event details such as date and time are displayed, and updating the text used for action buttons like View Event, View Tickets, or View Location.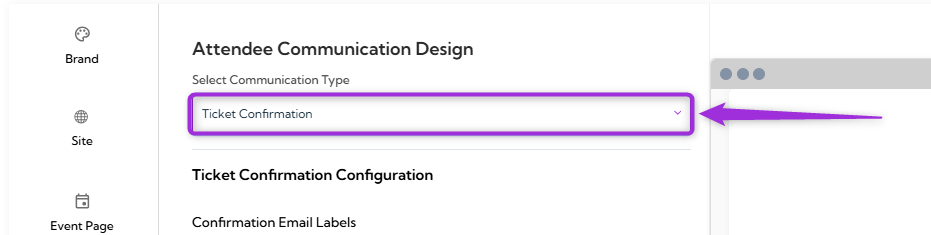
Confirmation Email Labels
Display Settings
Button Labels
Event Reminder
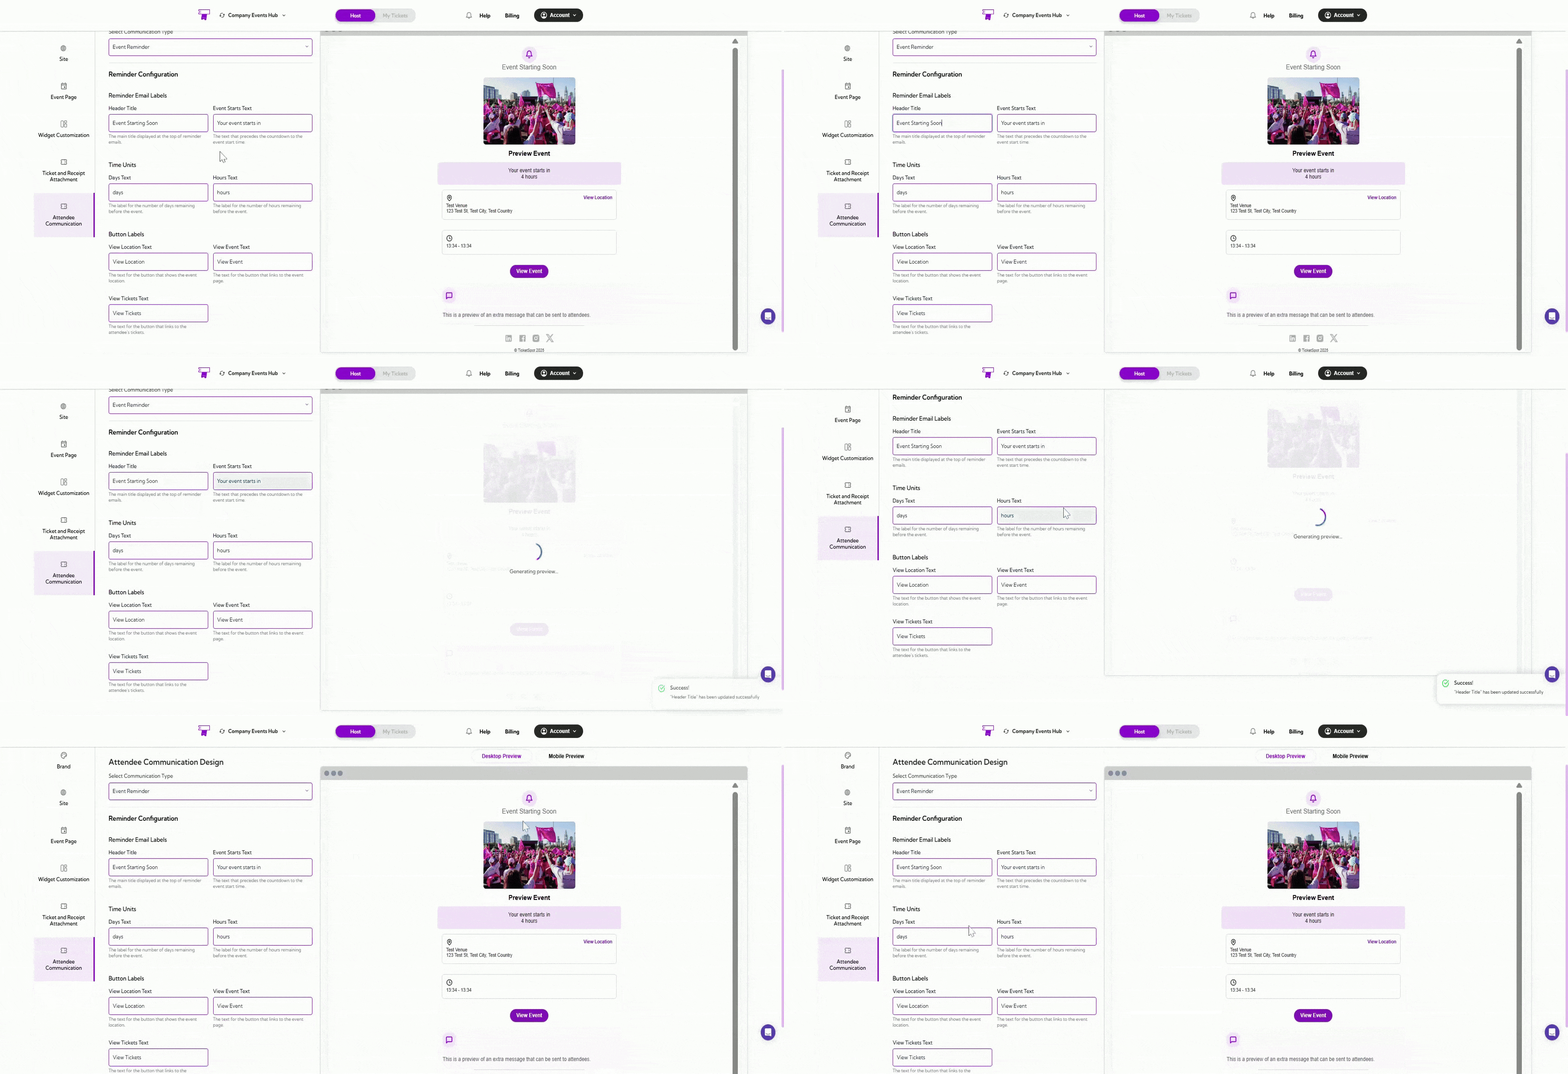
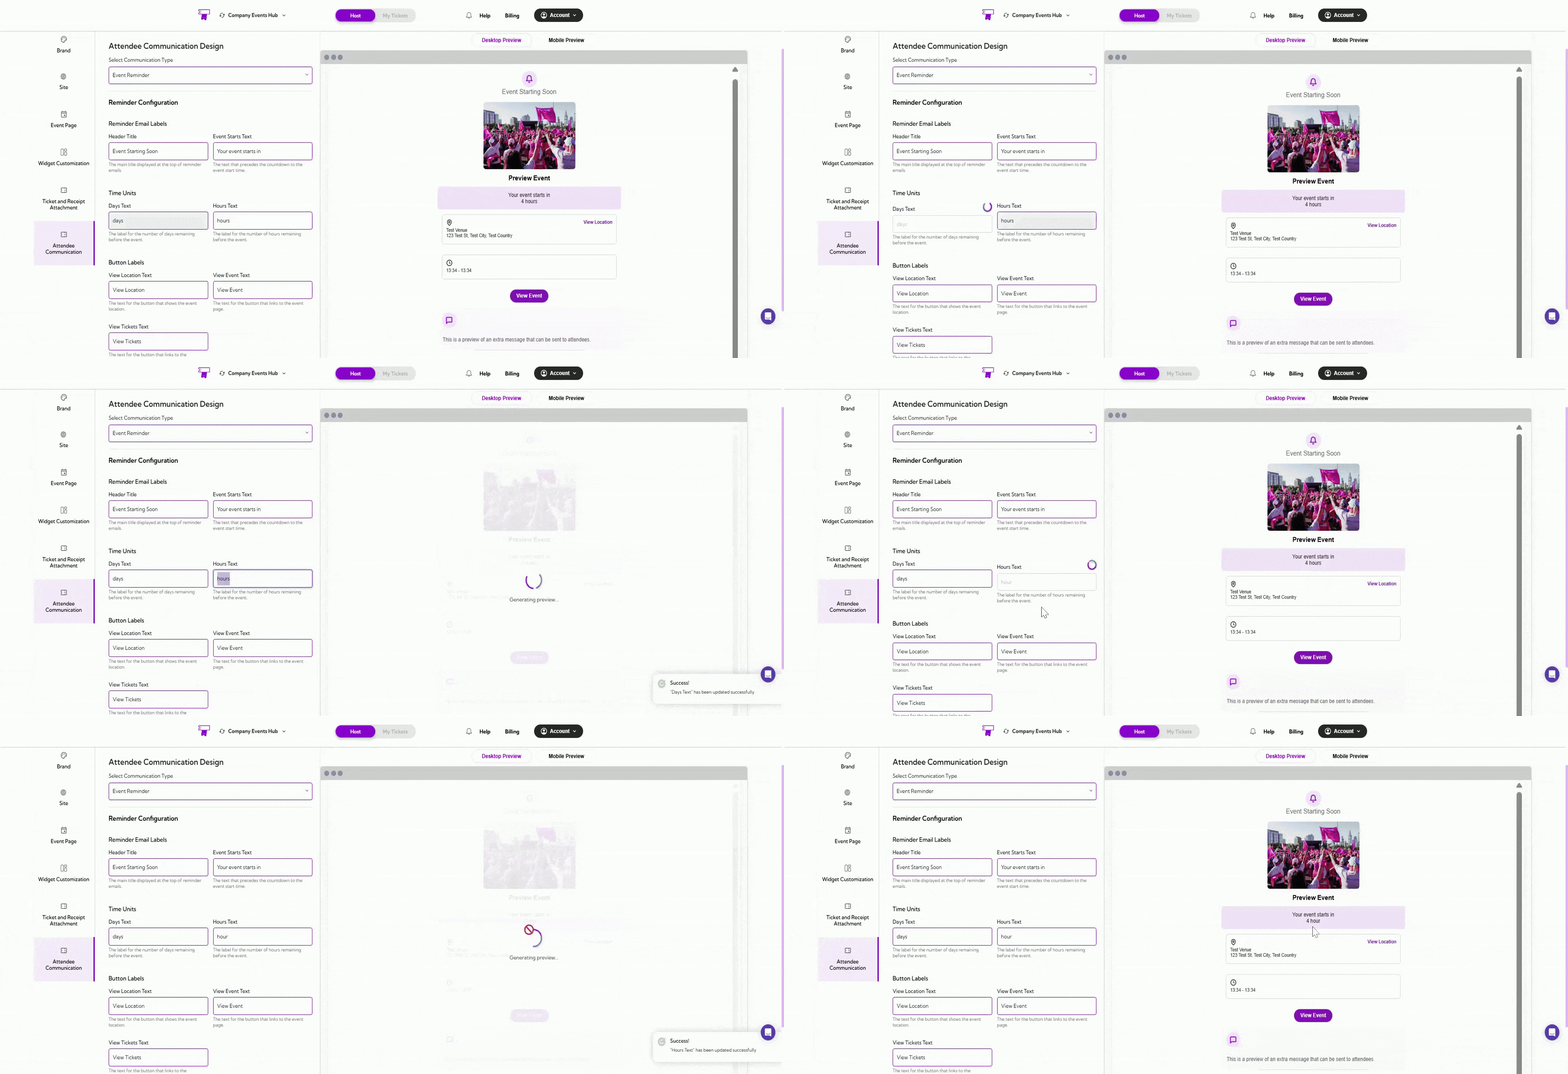
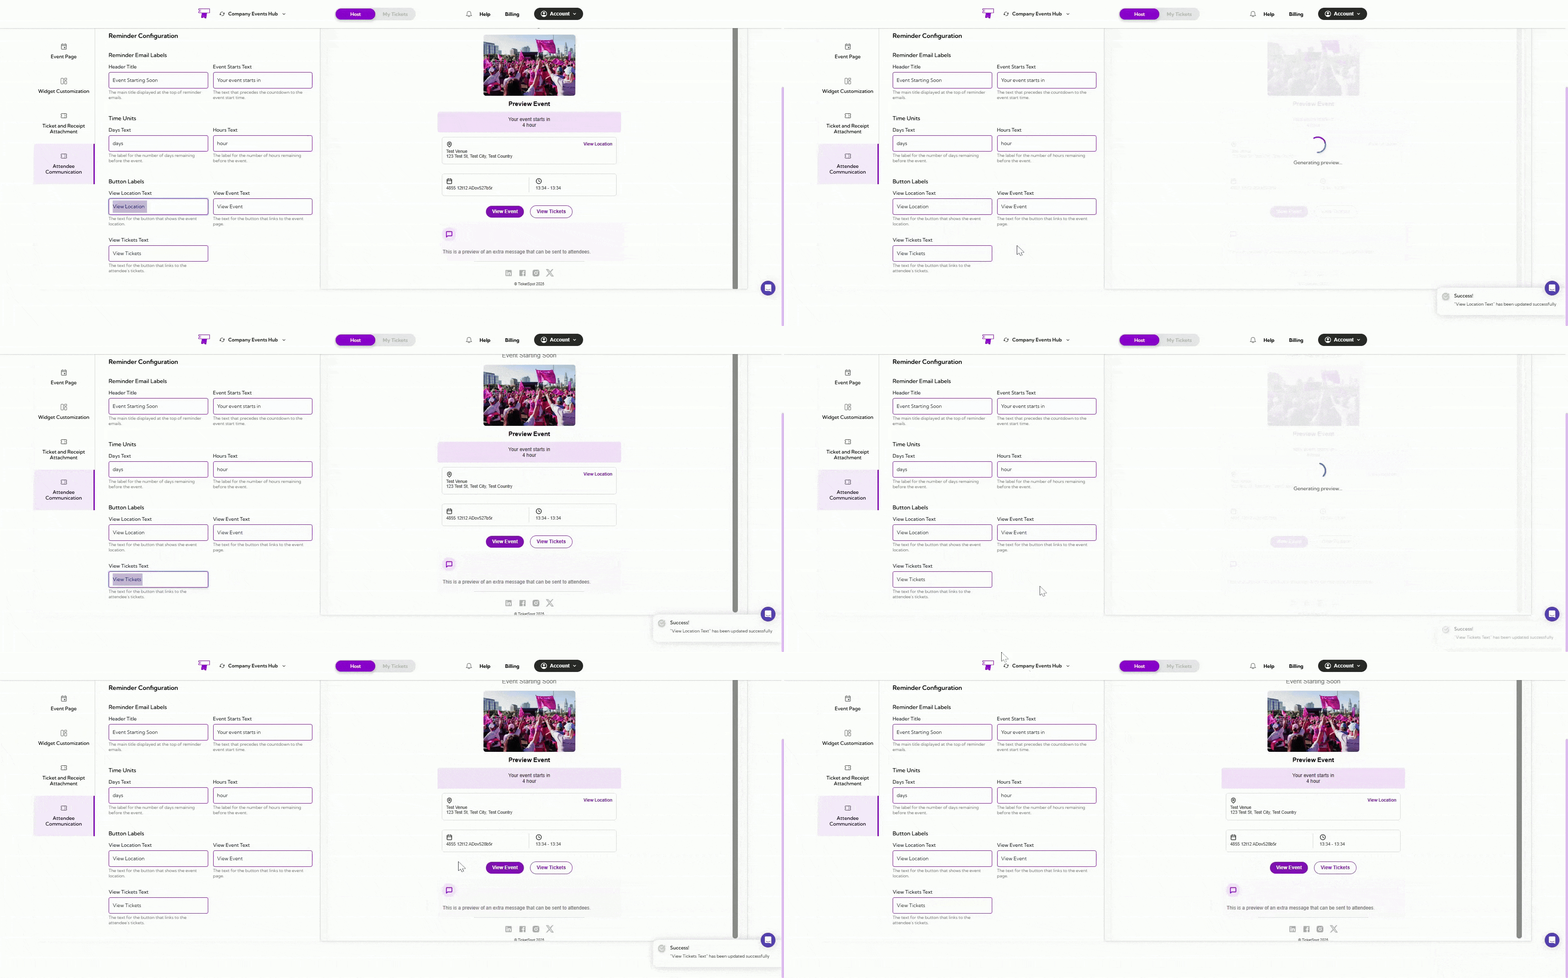
Event Reminder design controls the appearance of reminder emails sent before the event begins. These settings allow you to customize the title, countdown text, time-unit labels, and the action buttons included in the reminder email.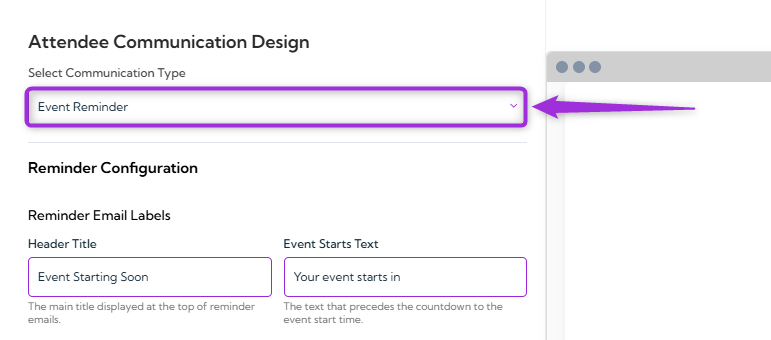
Reminder Email Labels
Time Units
Button Labels
Post Event
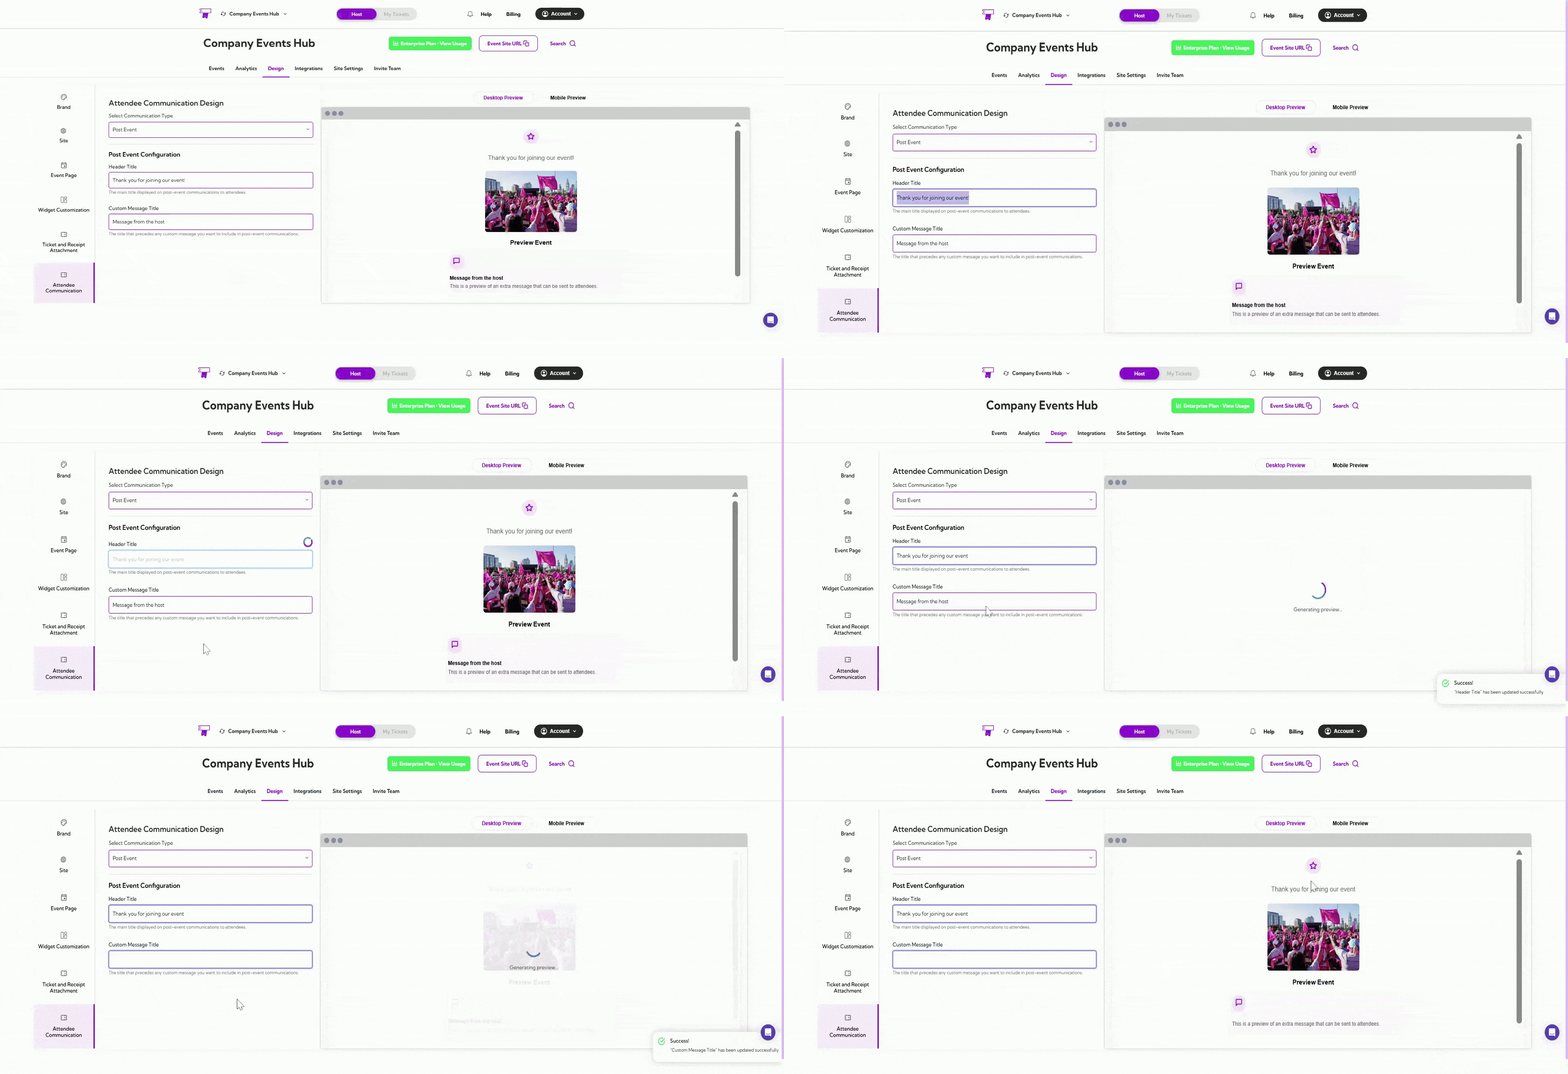
Post Event design controls the email sent to attendees after the event has ended. This message is typically used to thank participants, share follow-up information, or include a note from the host. The settings allow you to customize the main heading and the title that appears above any custom message you want to include.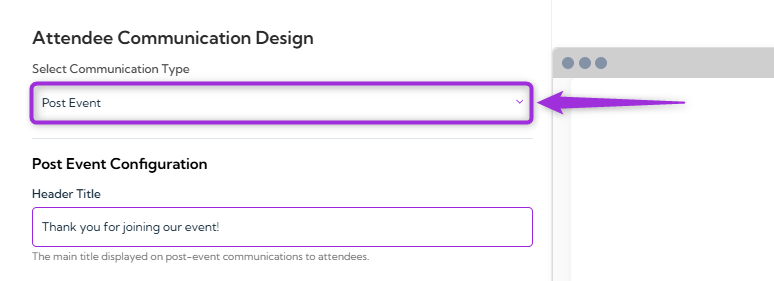
Post Event Configuration
Announcement
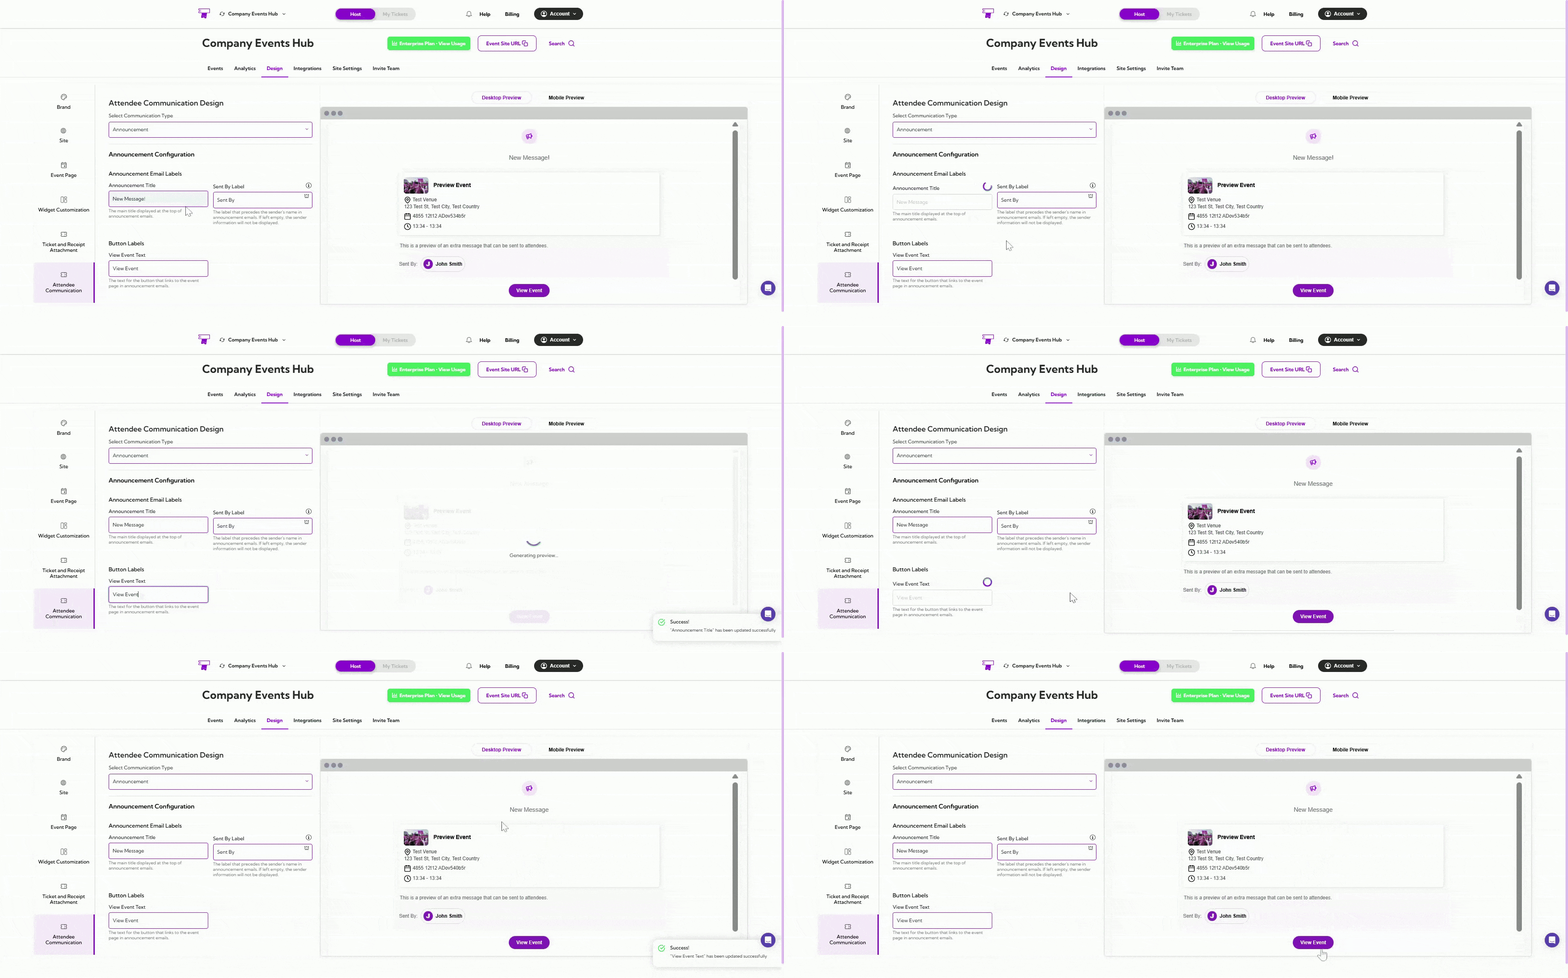
Announcement design controls how announcement emails appear when you need to send important updates or extra information to attendees. These settings let you customize the announcement title, sender label, and the button text that links attendees back to the event page.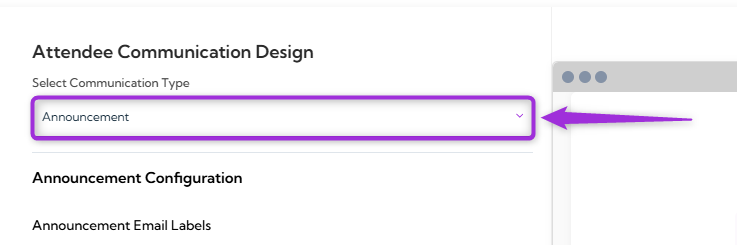
Announcement Email and Button Labels
Pending Approval
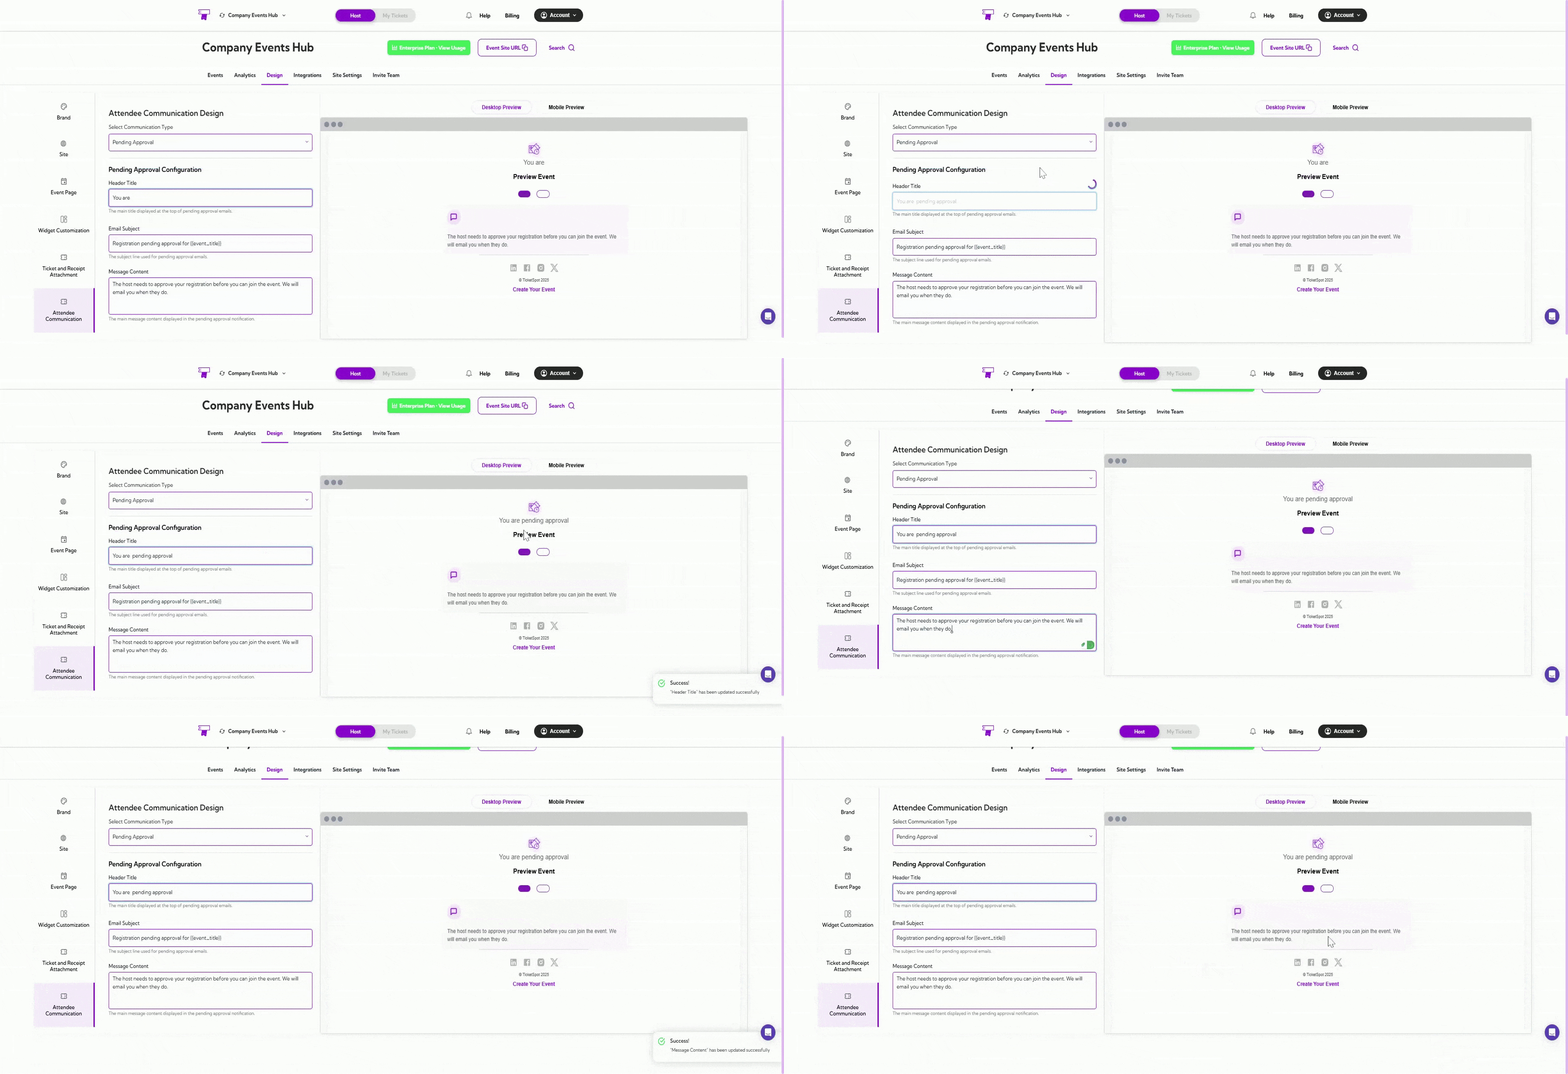
Pending Approval Email Design helps you customize how the message appears to attendees when their registration is waiting for host approval, including the title, subject line, and the message shown inside the approval notification.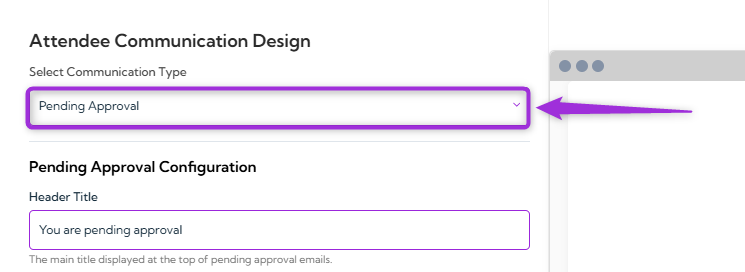
Pending Approval Configuration
Approval Declined
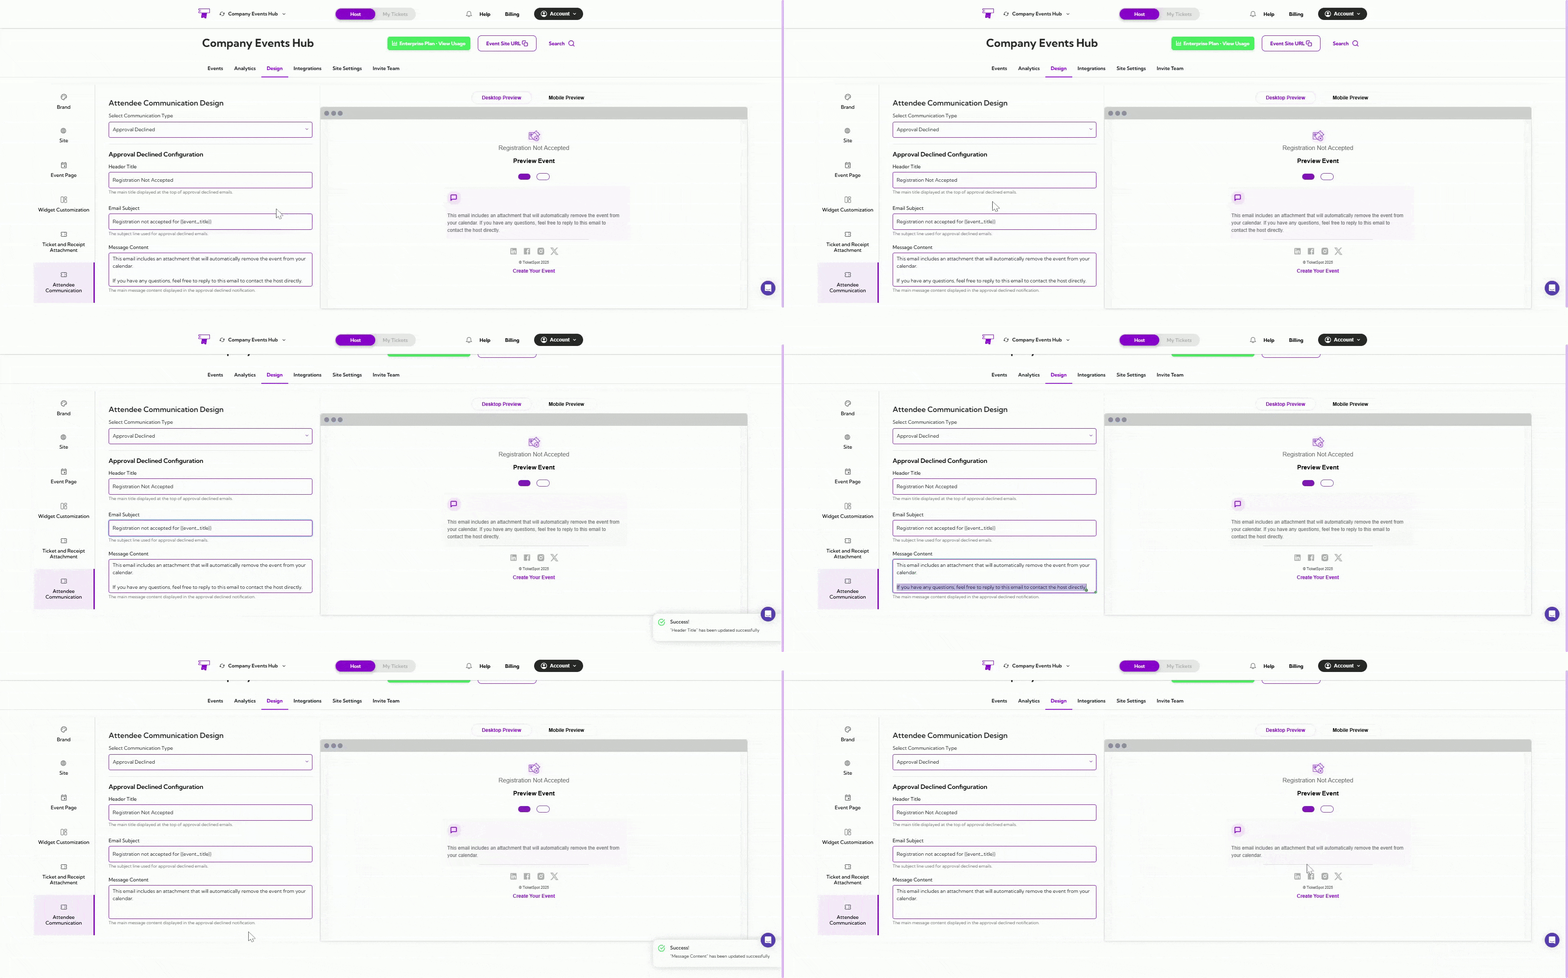
Approval Declined Email Design allows you to customize the message shown to attendees when their registration request is not approved. This includes updating the title, subject line, and the explanation provided in the declined notification.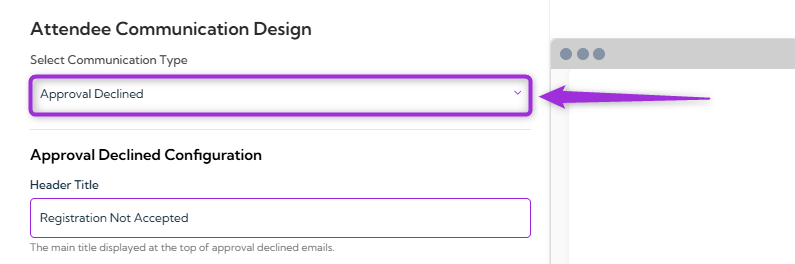
Approval Declined Configuration
Approval Confirmed
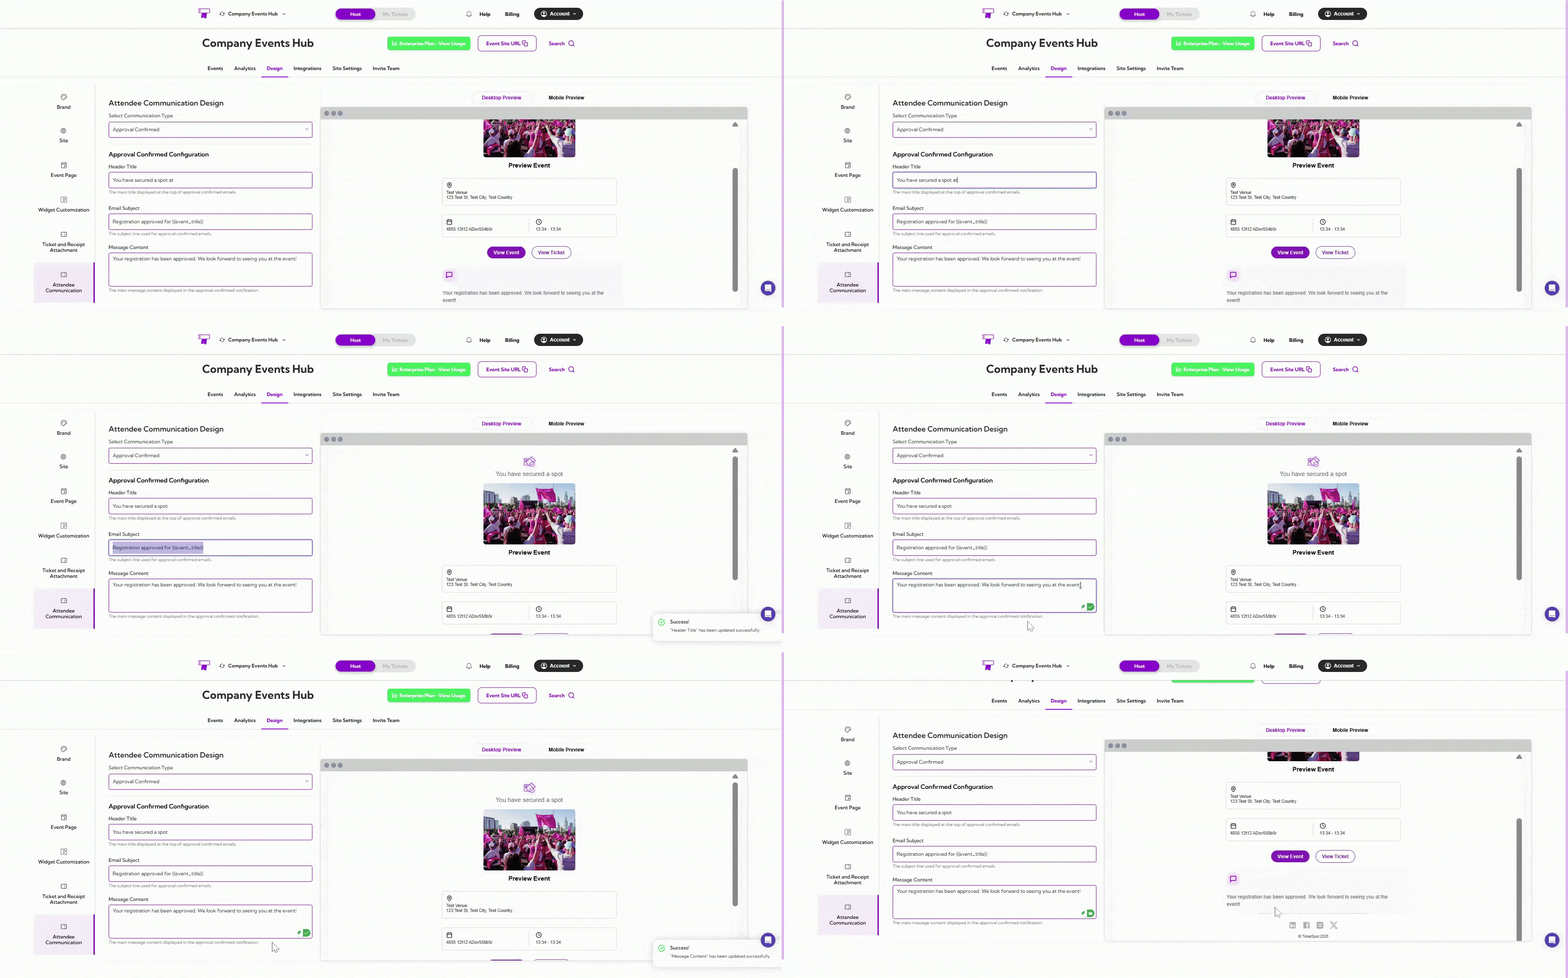
Approval Confirmed Email Design allows you to customize the message shown to attendees when their registration has been approved. This includes setting the title, email subject, and confirmation message that appears in the notification.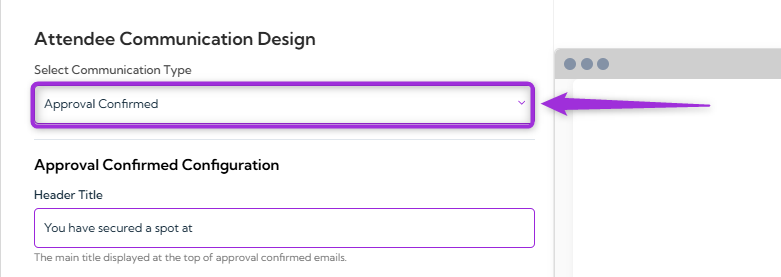
Approval Confirmed Configuration
Waitlist Confirmation
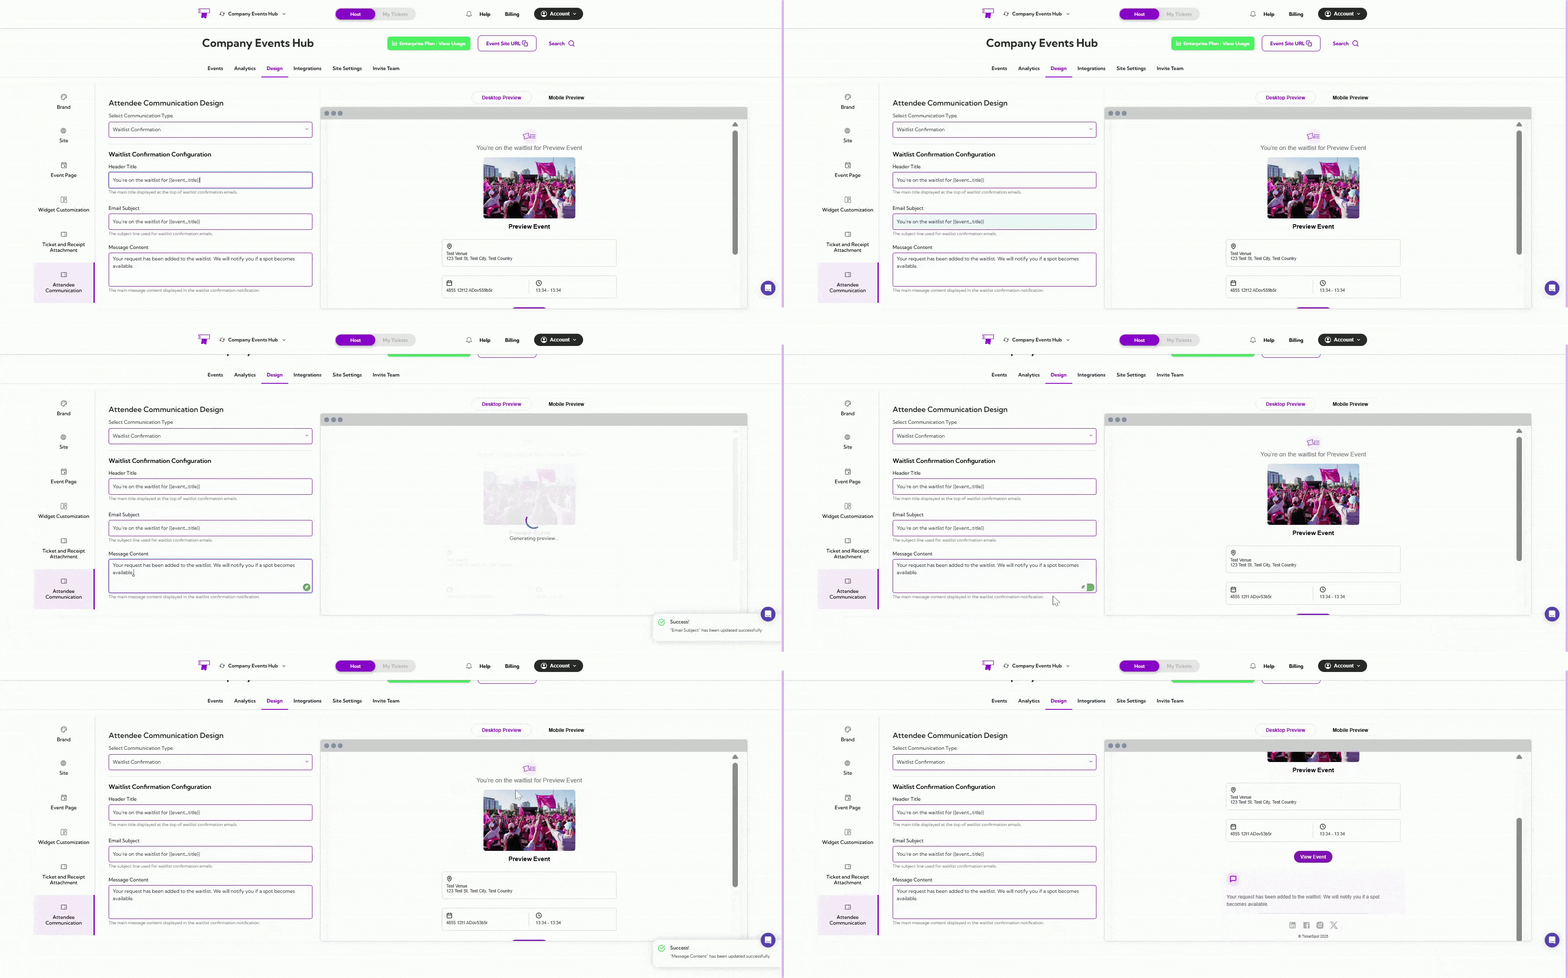
Waitlist Confirmation Email Design allows you to customize the message sent when an attendee joins the waitlist for an event. This includes setting the title, subject line, and notification message that explains their waitlist status.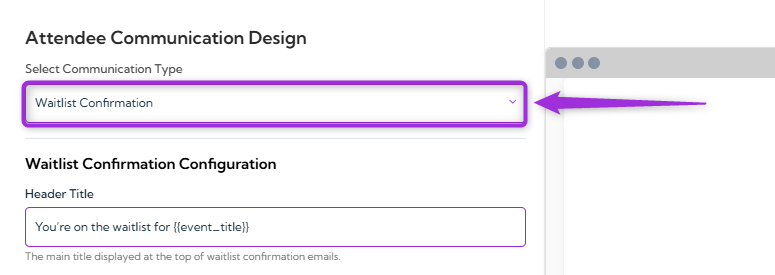
Waitlist Confirmation Configuration
Waitlist Ticket Released
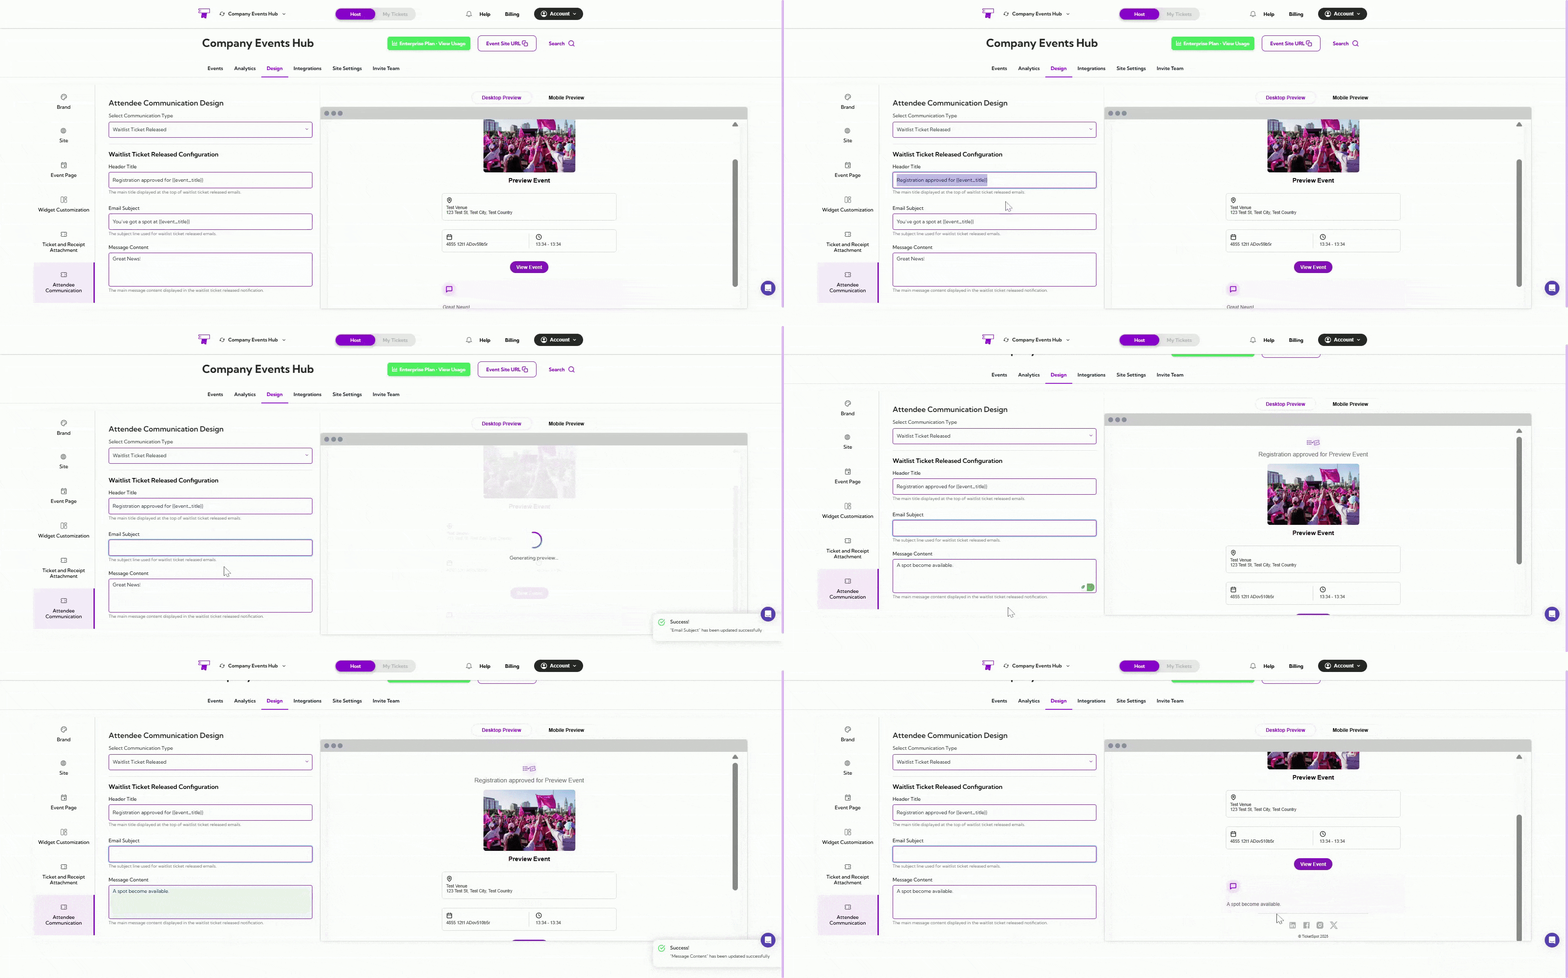
Waitlist Ticket Released Email Design allows you to customize the message sent when a spot becomes available for someone on the waitlist. This notification confirms their registration approval and provides event details.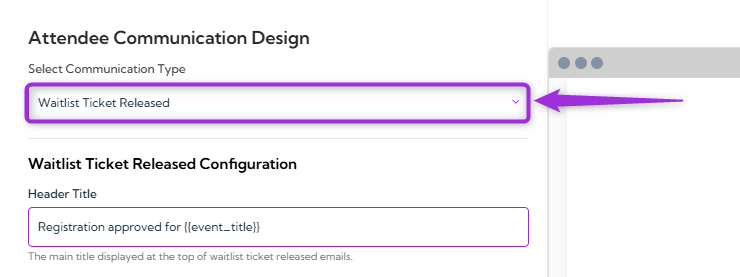
Waitlist Ticket Released Configuration
Not Attending
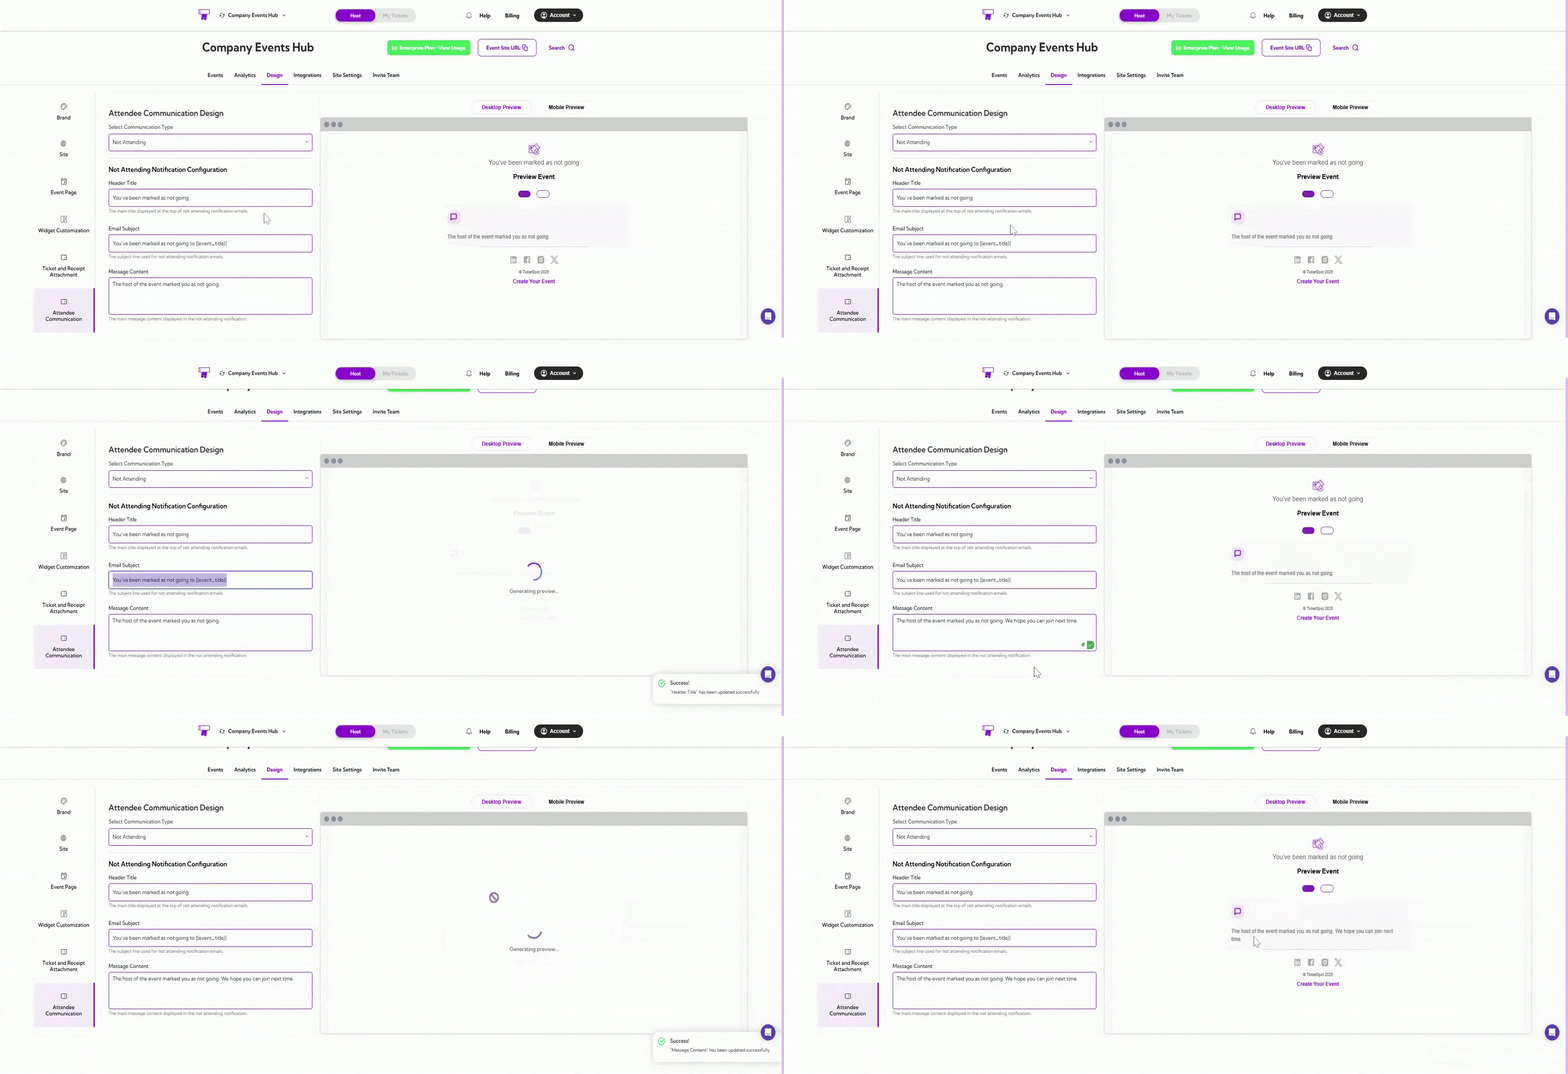
Not Attending Email Design allows you to customize the message sent when an attendee is marked as not going. This notification email helps the attendee know their status has been updated and provides a clear message from the event host.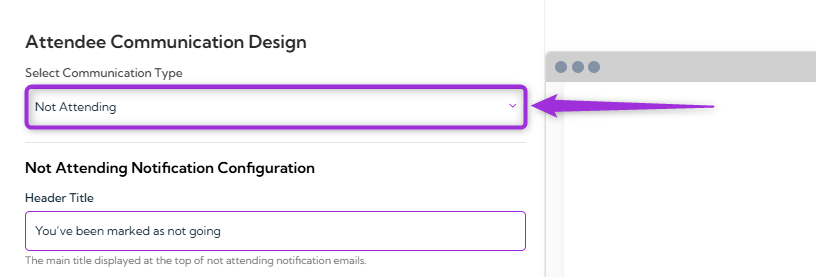
Not Attending Notification Configuration
Checkout
Checkout communication templates allow you to customize what attendees see immediately after completing their purchase. This includes the order confirmation page, labels, buttons, and optional actions like viewing receipts or downloading passes. These settings help you create a clear, branded post-purchase experience.Checkout Complete
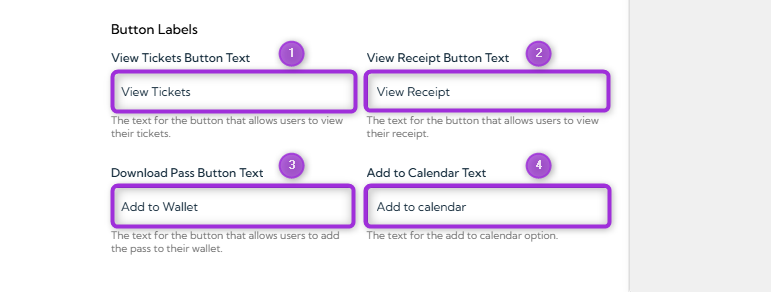
Checkout Complete design settings allow you to control how the final confirmation screen appears once an attendee finishes their order. You can customize the header, labels, and action buttons so the page clearly summarizes the order and gives attendees quick access to tickets, receipts, and other follow-up actions.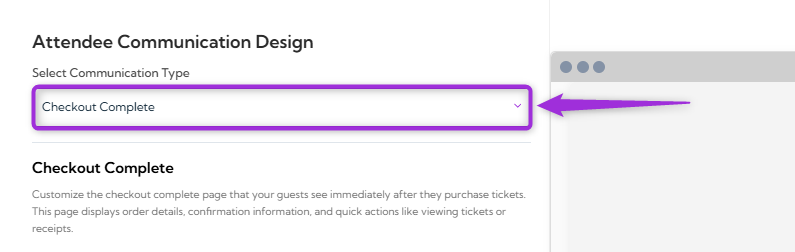
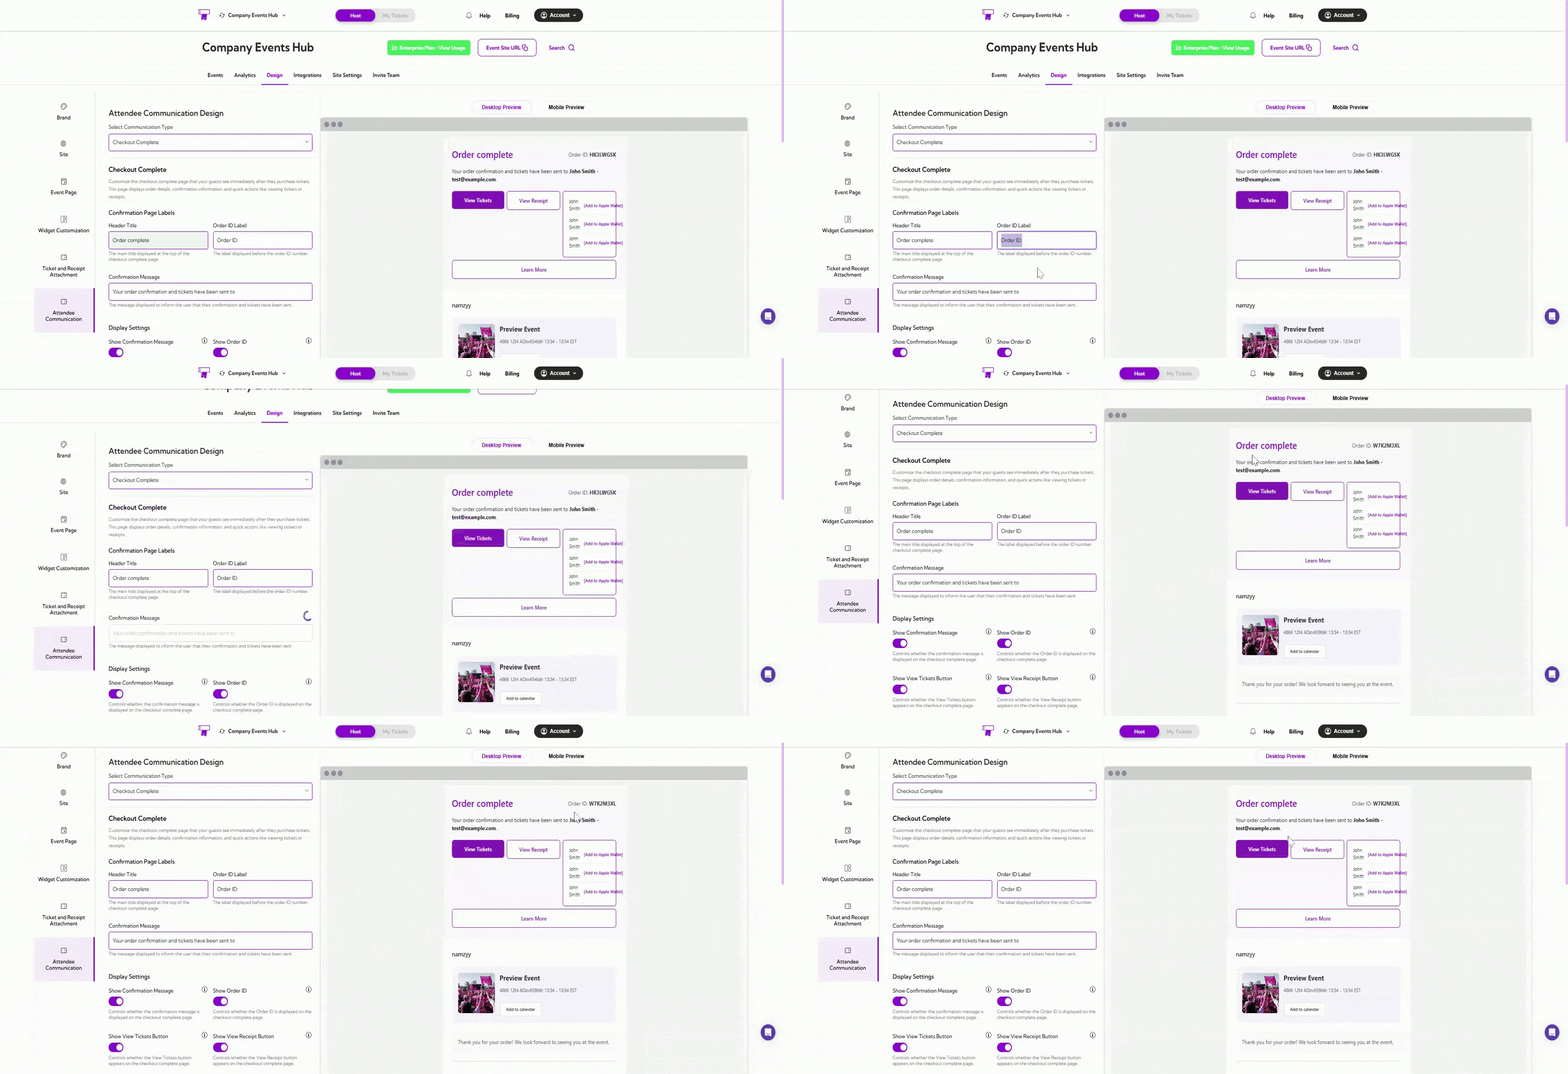
Confirmation Page Labels
Display Settings
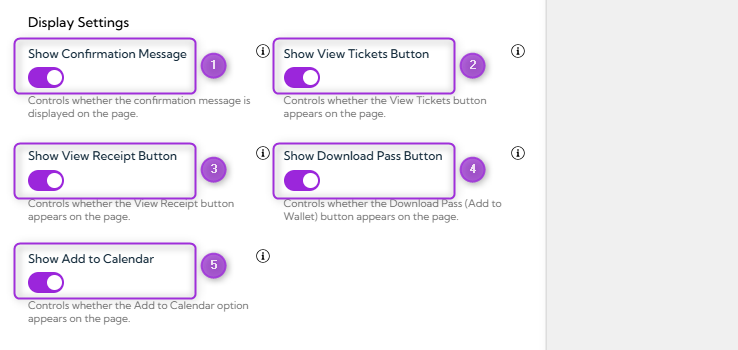
Each toggle controls whether a specific element appears on the checkout complete page: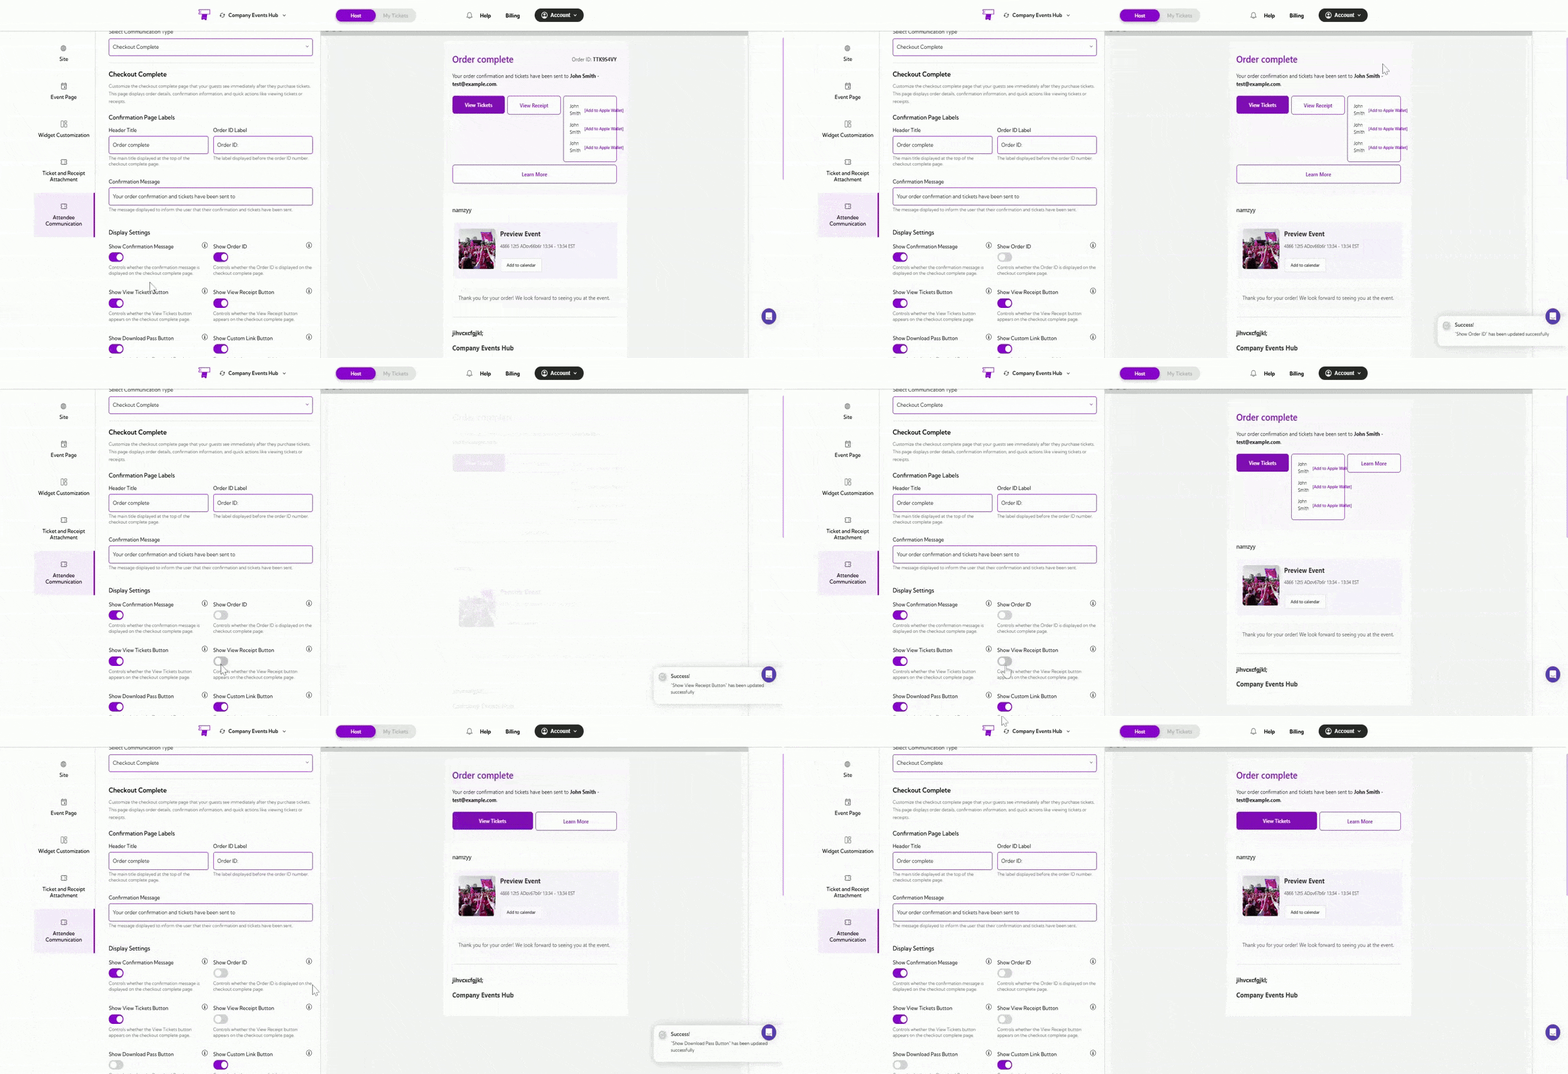
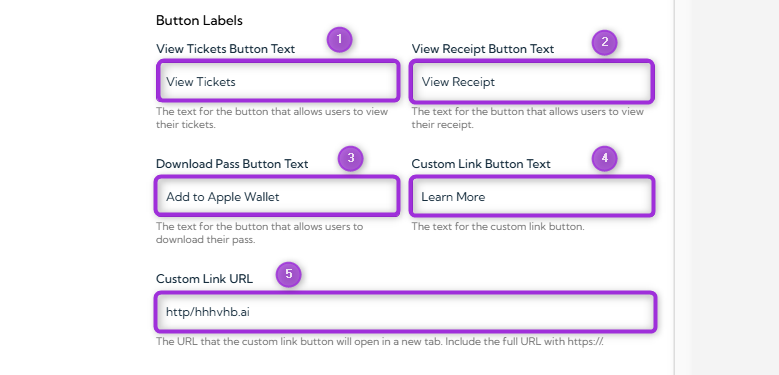
Button Labels
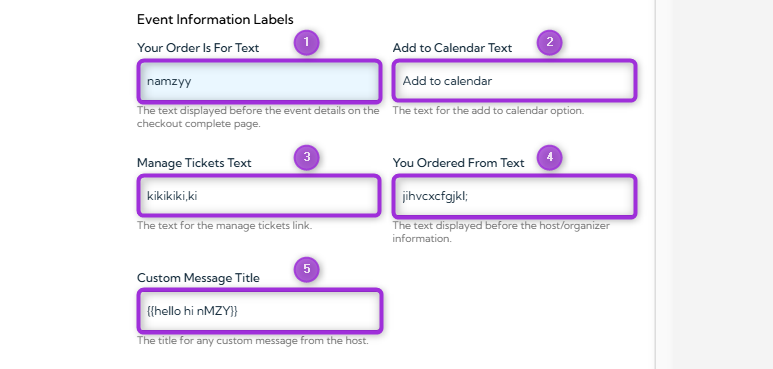
Event Information Labels
Shopify Thank You Page
Shopify Thank You Page design settings allow you to control how the final confirmation screen appears after customers complete their purchase through Shopify. These options enable you to edit the header, labels, and action buttons, allowing customers to quickly access their tickets, download passes, or add the event to their calendar directly from the Shopify checkout flow.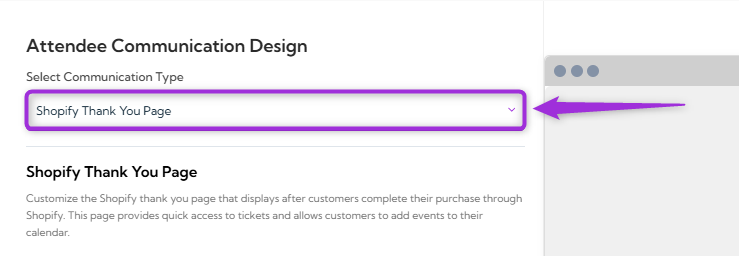
Page Configuration
Header Title: Main heading at the top of the Shopify Thank You Page. Example: Access Your Tickets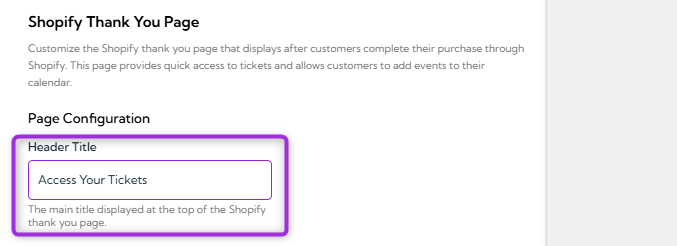
Display Settings
Button Labels
Check-In
The Check-In allows event organizers to customize the interface used for scanning and validating attendee tickets on-site. These settings help ensure a smooth, clear, and professional check-in experience, whether staff members are operating the scanner or attendees are using a self-service kiosk.Self Check-In Kiosk
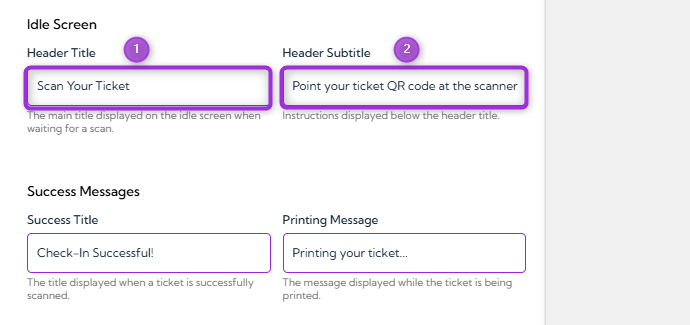
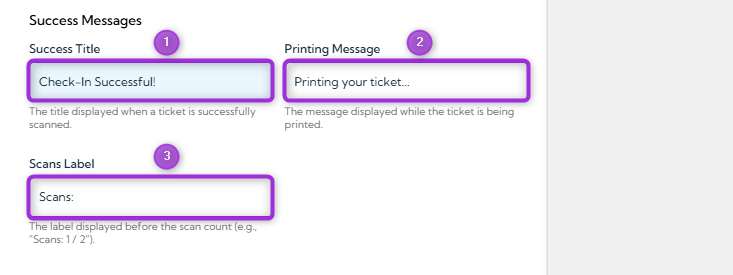
Self Check-In Kiosk interface is used at the venue to help attendees check themselves in by scanning their tickets. This design panel allows you to customize all on-screen text, success messages, warnings, and error states shown during the check-in process. It ensures your kiosk experience is clear, branded, and easy for attendees to follow.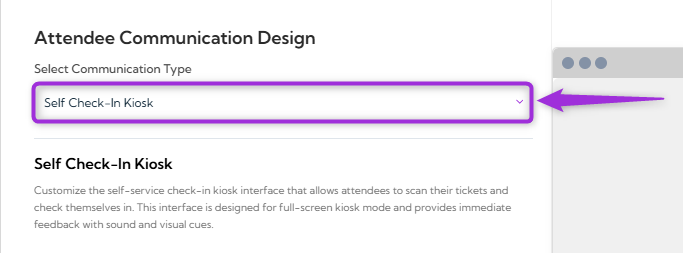
Idle Screen
Success Messages
Printing Settings
Enable Auto Print
When this option is enabled, the kiosk prints tickets automatically after a successful scan. If disabled, tickets will not print on their own and must be printed manually if needed.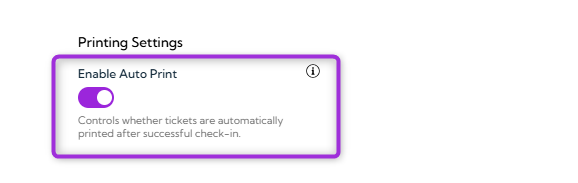
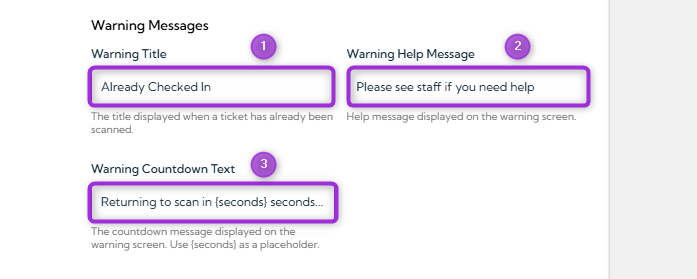
Warning Messages
Error Messages
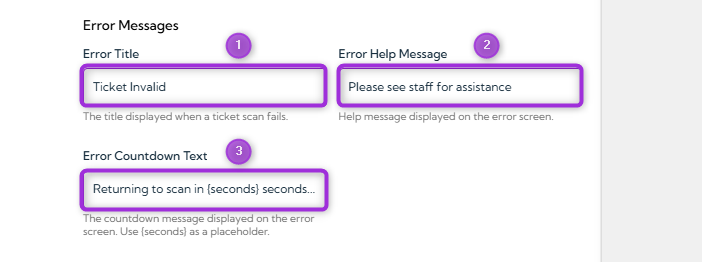
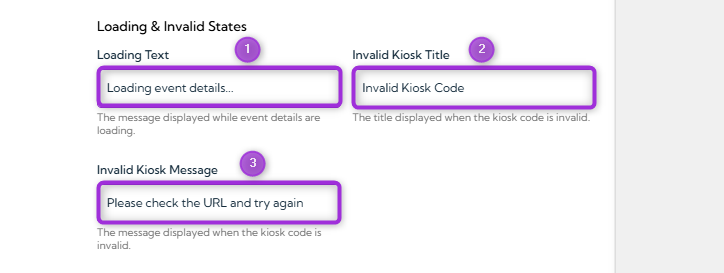
Loading & Invalid States